Back in the good old days, you had a traditional camera and a roll of film. You could only take a few photos, then you had to send them off to be developed. This meant just waiting to see if the image was good or not!
Of course, half the photos came out blurry, faded, or out of focus. Even when digital cameras were introduced, we still ended up with tons of awkward photos.
{{cta-banner-images}}
You can be sure that somewhere on your parents' ancient computer are a bunch of old digital photographs taken in the early 2000s, chock-full of red eyes and wonky smiles. Or perhaps there is a box lurking under someone's bed, overflowing with damaged and scratched photos.
But just because the photos are old and low-quality doesn't mean they can't be repaired. Facetune has a range of features that you can use to restore and improve old photographs.
How to restore old photos using the Facetune app
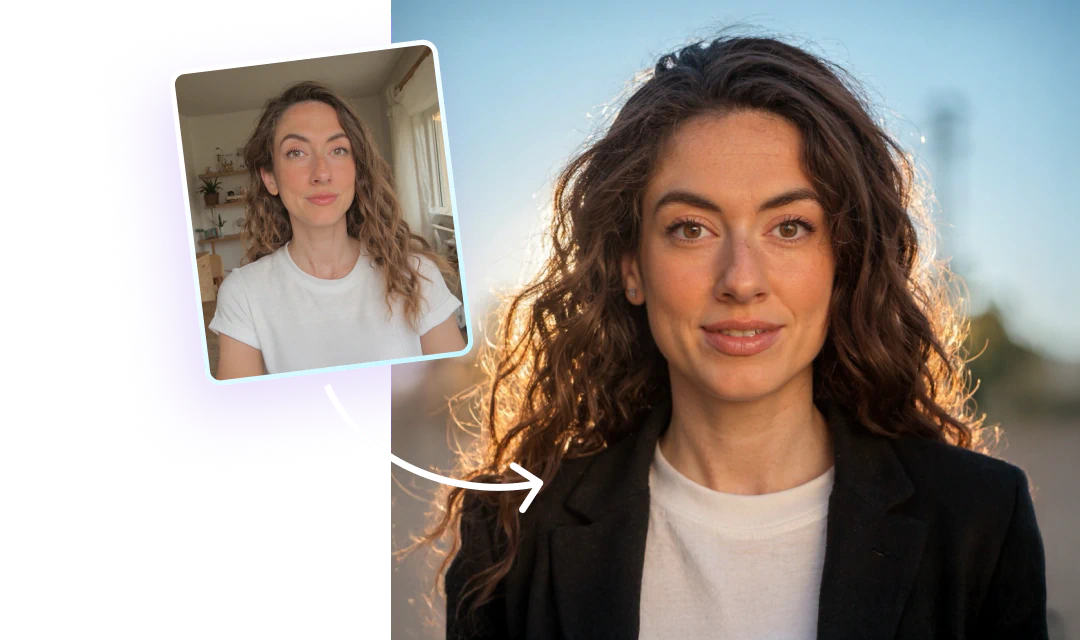
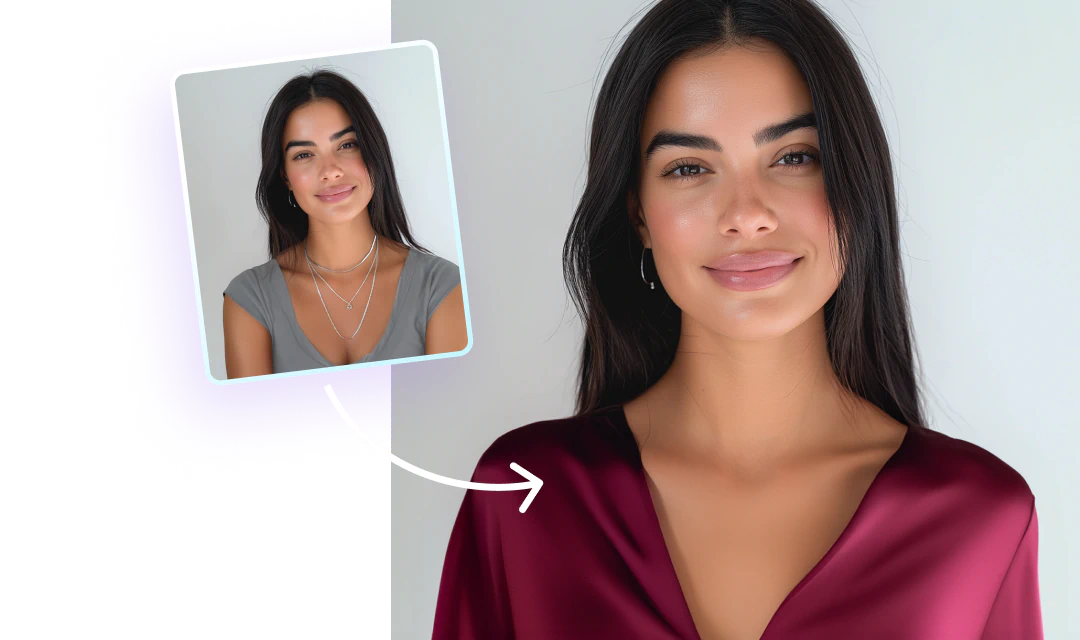
Before Facetune:

After Facetune:

How to turn old photos into new ones.
1) Pick the photo you want to improve and open it in Facetune. If it's a very old photo, you might need to digitize the image first.
2) The first thing to do when improving an old photo is to repair any significant scratches or damage to the image. Head to the Patch tool first to select and replace tears, scratches, or marks.
3) Since older cameras were less technically sound, old photos tend to be grainy. Head to the Retouch menu to select the Smooth and Smoother tools. This will allow you to improve the quality of the image and smooth out the pixels.
4) The grainy quality means the details and edges will also look out of shape. In the Retouch menu, select Details to make the eyes, nose, and edges look sharper and more precise. For more focus, do the same with the Sharpen tool.
5) While in the Retouch menu, select the Whiten tool to give the smile a boost of brightness.
6) One of the most significant differences between modern and old photos is in the eyes. In the main menu, select the Eyes function. Here you can increase the whiteness of the eye using the Whiten tool. You can add eye color using the Lens and Color tools.
7) Finally, head to the Filters menu to add a more modern color scheme. For black and white photos, a filter can bring a modern lighting feel, and for color images, it can boost the vibrancy of the colors.
Seeing old photos come to life is extremely satisfying — especially if the image is of a loved one or a place you can no longer visit. All you need is Facetune and a few minutes to make some edits and you can easily breathe new life into those beloved old pictures.