We've all been there – you had an amazing day at the beach, took tons of photos with friends, and then realized your face looks like a tomato in every single shot.
Sunburn has a way of showing up extra harsh in photos, turning what should be cherished memories into pictures you'd rather hide.
Luckily, with Facetune's powerful editing tools, you can easily tone down that redness and make your sunburned skin look natural again.
Let's explore how to remove that dreaded sunburn from your photos!
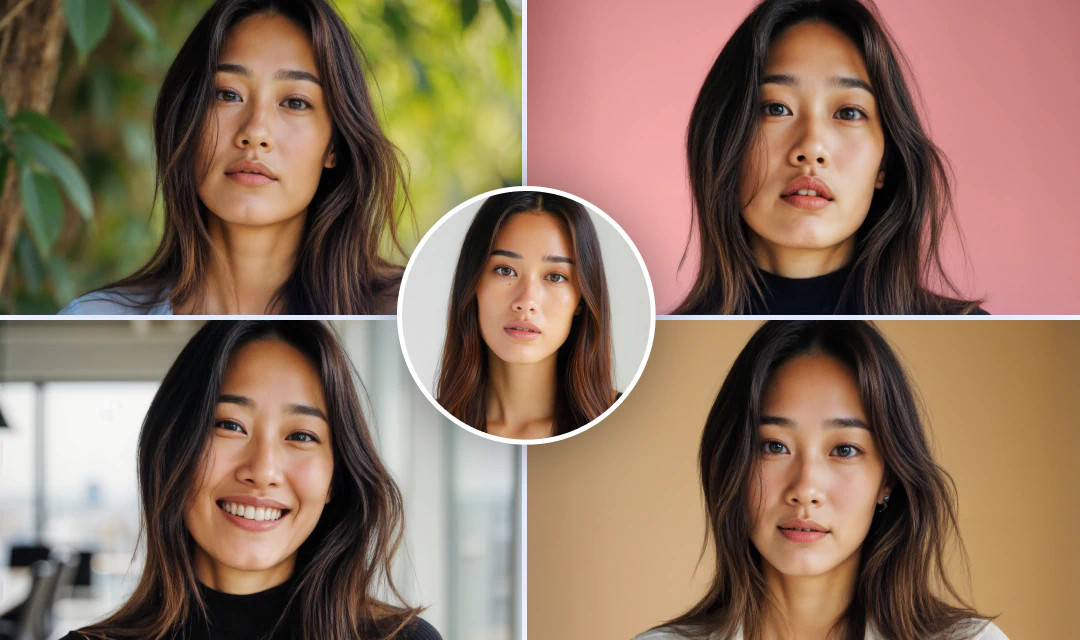
{{cta-banner-images}}
How to get rid of sunburn in pictures
Sunburn in photos typically appears as bright red patches on your skin, particularly on your face, shoulders, or chest areas.
This redness can be distracting and draw attention away from what should be the focus of your image – your smile, the beautiful scenery, or the special moment you were capturing.
Here's how to fix it:

Using the Skin tool
Facetune's Skin tool is perfect for addressing sunburn because it gives you multiple options to tone down redness and create a more balanced skin tone:
- Open your sunburned photo in Facetune and tap on the Skin tool
- Try the Smooth option to reduce the textural appearance of sunburn. Start with a low intensity (around 15-20%) and gradually increase if needed. Remember, the goal is natural-looking skin, not a plastic appearance!
- Use the Matte option to reduce shine that often accompanies sunburn. This is especially helpful for forehead, nose, and cheek areas that might look extra shiny when sunburned.
- Adjust the Glow slider carefully if your sunburn looks dull or dry. A touch of glow (again, start with 10-15%) can make the edited skin look more natural and healthy.
- The Tan feature can be surprisingly effective for sunburn - not to make you look more tan, but to normalize the color balance. When used at low intensity, it can help blend the reddish tones into a more natural skin color.

Using the Makeup tool for targeted areas
For more precise control or when dealing with uneven sunburn (like when your sunglasses left those raccoon-eye patches), the Makeup tool provides excellent targeted correction:
- Tap on the Makeup tool in Facetune
- Select the Paint option
- Choose a color that closely matches your natural skin tone from the palette or use the eyedropper to select from an unburned area of your skin
- Adjust the opacity to a low setting (around 20-30%) so changes look subtle and natural
- Gently brush over the sunburned areas with your finger, building up coverage gradually
This method is ideal for how to remove redness from photo areas that are particularly problematic or when the sunburn is patchy rather than all-over.

How to remove shine and make sunburn less noticeable
Sunburn often comes with an unwanted shine or glossiness that can make it even more obvious in photos.
Here's how to address that specific issue:
Managing shine with the Matte tool
- Access the Skin tool and locate the Matte slider
- Apply the Matte effect specifically to shiny areas like the forehead, nose, and cheeks
- Use a moderate setting (around 30-40%) to reduce shine without making skin look unnaturally flat
- Blend the edges of your edited areas to avoid any obvious lines of demarcation
Color correction for severe redness
For particularly red sunburn:
- Try the Tone feature in the Skin tool to neutralize the intense red tones
- Consider using the Heal tool at a low opacity to sample unaffected skin areas and blend them into the sunburned regions
- For precise work, use the Reshape tool's Face feature to select just the affected areas and make targeted adjustments to color balance
Remember that the key to natural-looking edits is subtlety.
You want to minimize the sunburn, not make it look like it was never there (unless that's your specific goal).
A slight hint of color is often more natural than perfectly even skin.
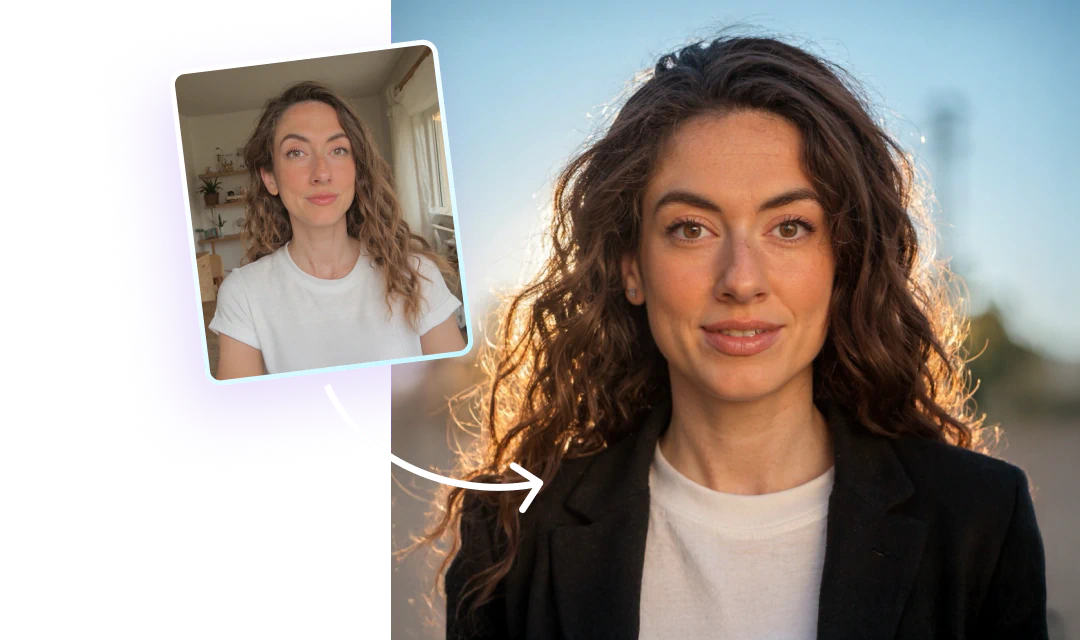
{{cta-banner-images}}
Extra tips to make your skin look natural after editing
After you've addressed the sunburn, these finishing touches will ensure your edited photo looks naturally beautiful:
Maintain skin texture
One common mistake when editing sunburn is over-smoothing the skin, which can create an artificial "plastic" look:
- After reducing redness, dial back the Smooth setting slightly to reintroduce some natural skin texture
- Check your photo at different zoom levels to make sure it looks natural both close-up and at normal viewing distance
- Compare before and after frequently to avoid over-editing
Balance your overall look
When you've edited sunburn on your face, make sure it matches the rest of your visible skin:
- Check your neck, chest, and arms to ensure they match your newly edited face tone
- Apply similar (but perhaps lighter) edits to those areas if necessary
- Pay special attention to areas where edited and unedited skin meet to avoid obvious lines
Preserve your natural glow
There's a difference between sunburn shine and healthy skin luminosity:
- After applying Matte effects, add back a touch of Glow in strategic places like the high points of cheeks
- For a natural finish, leave some variation in your skin rather than making it perfectly uniform
- Consider adding a very subtle Blush effect to the cheeks if your sunburn correction has left your face looking flat
Why sunburn shows up so harshly in photos
Understanding why sunburn appears so prominently in photos can help you edit more effectively:
Camera sensitivity to red tones
Digital cameras often amplify red tones, making sunburn look even more intense in photos than in real life. This is because:
- Camera sensors are particularly sensitive to the red color spectrum
- Auto-processing in phones and cameras often increases contrast and saturation, enhancing redness
- Flash photography can further highlight red and shiny areas of skin
Lighting effects on sunburned skin
The lighting conditions when you took the photo impact how noticeable sunburn appears:
- Direct sunlight intensifies red tones and creates shine on inflamed skin
- Indoor lighting (especially fluorescent) can give sunburned skin an unnatural color cast
- Sunset or "golden hour" lighting often minimizes sunburn (something to remember for future beach photo sessions!)
Understanding these factors can help you adjust your editing approach based on the specific lighting conditions of your photo.

Final thoughts
Sunburn happens to the best of us, but it doesn't have to ruin your photos.
With Facetune's tools, you can easily tone down redness, reduce shine, and create natural-looking skin that lets the real purpose of your photo shine through.
Remember that the most effective edits are the ones no one notices – subtle adjustments that enhance rather than completely transform.
With practice, you'll develop an eye for just how much correction is needed to make sunburn less noticeable while keeping your natural look intact.
So next time you come home from the beach looking like a lobster, don't worry – take your photos anyway!
You now know exactly how to remove redness from photo evidence of your sun-soaked adventures.
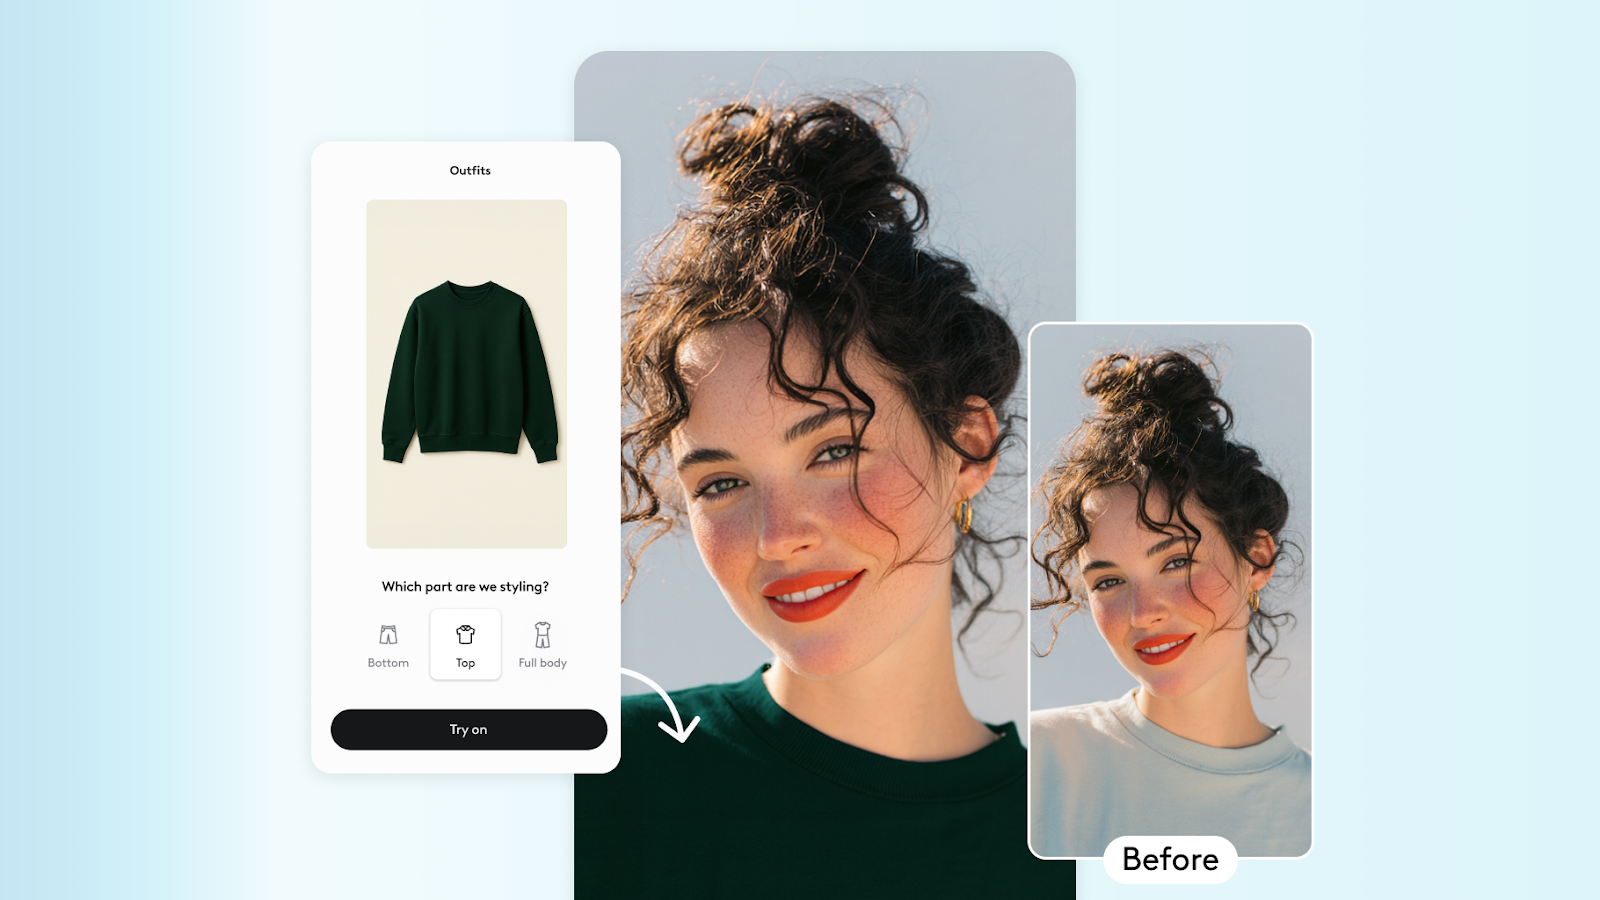
{{cta-banner-images}}