As winter comes to an end (for all of us in the Northern hemisphere), spring can only mean one thing — our legs are coming out of hibernation. For some of us with a certain skin tone, this is the time of year when we realize we could be related to Casper, the friendly selfie ghost. And it isn't just our legs, it's our full body. My arms, stomach, and face all indicate that Casper is a close family member.
This is now the season when brands selling fake tanning products are about to make a fortune. But sometimes fake tans and bronzers are not ideal, especially not for selfie tans. A lot of them make you look more orange than an Oompa Loompa, and if you're outside in the sun, sweating or swimming, they can run or go patchy.
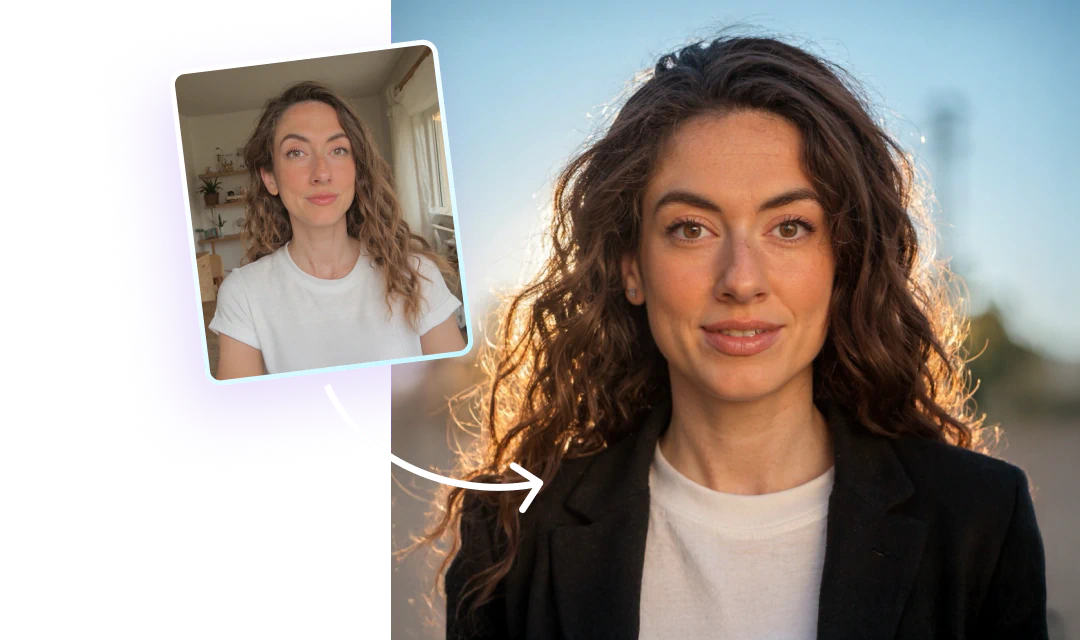
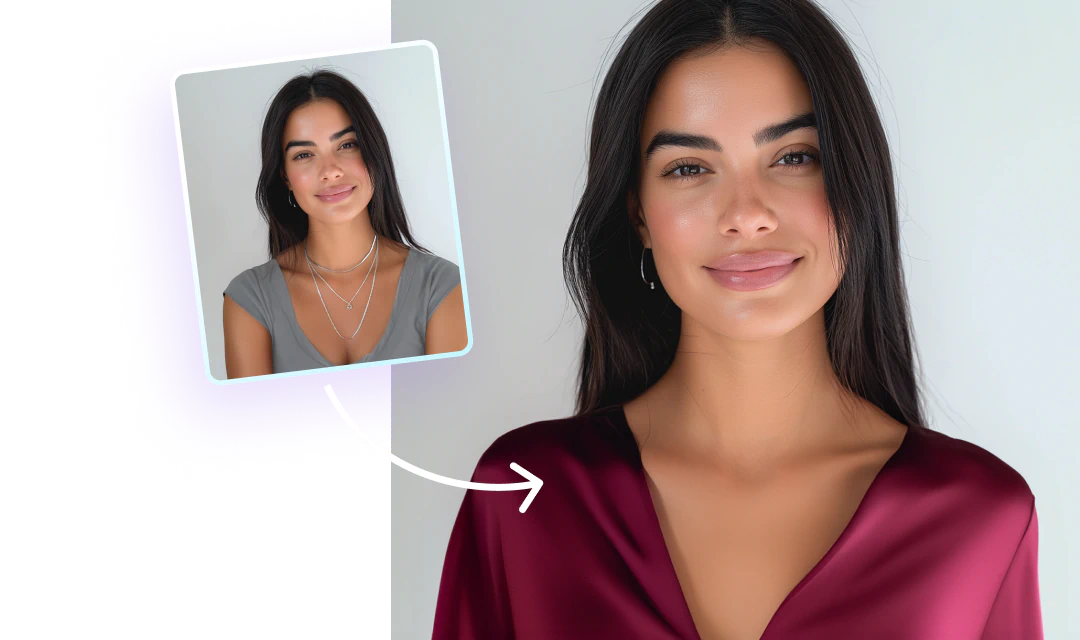
In these scenarios, your best option is to add the tan into photos later. That's right, you heard me. Adding in a bronze glow either to your body is super easy if you know how to do it.
The benefit of adding a tan digitally is that you can look back at a beautiful summer glow without worrying about fake tan streaks or patchy bronzer. Or, if you look back and find you do have a few patches where your tan or bronzer has rubbed off, you can use editing features to correct it and look like a summer goddess.
{{cta-banner-images}}
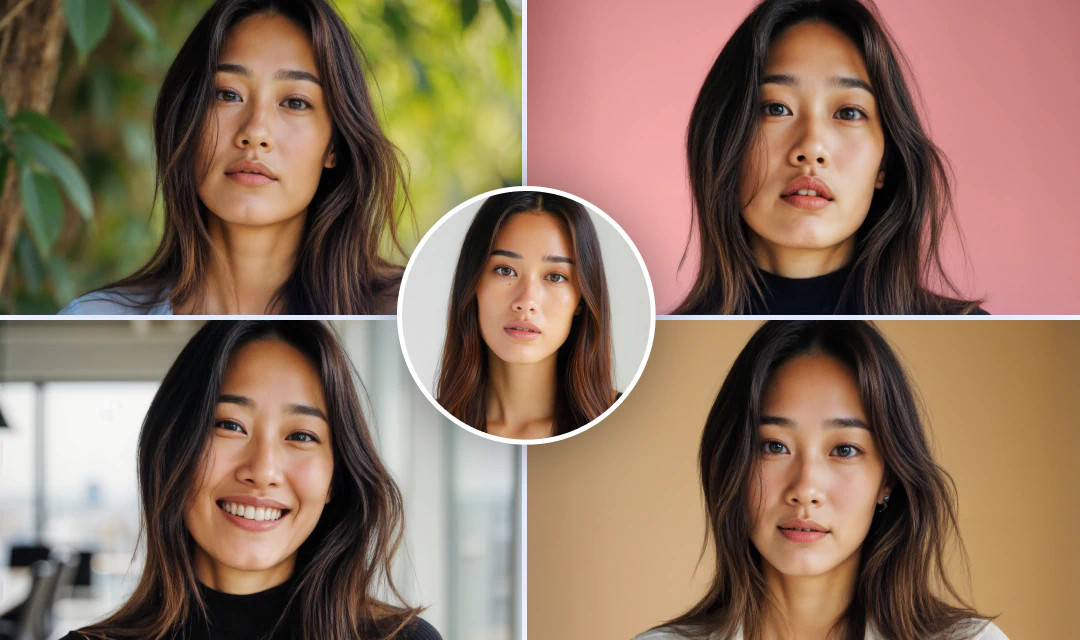
How to make yourself look more tan in photos with Facetune:
Here's our step-by-step guide to adding a golden tan to photos using Facetune.
Step 1: Using Facetune, open your selfie and head to the Retouch section.
Step 2: In the Retouch section, scroll along the bottom bar until you can choose the Glow option. Using your finger, sweep over the area you want tanned to bring a glow to the area. This might make you look slightly pale to start with, depending on your skin tone, but it will help with a natural-looking tan if you follow the next steps.
Step 3: Select the Vibrance function in the same Retouch section. Swipe your finger over the same area to add even more of a glow. Use the slider to adjust the intensity.
Step 4: Save your work so far and head back to the main menu. Then select the Paint option from the main menu bar. Then choose the Tone tool.
Step 5: Using the color menu, select a color a shade or darker than your skin tone in the picture. If you are already using tan and want to touch it up, use the Picker tool to get an exact shade match. Swipe your fingers over your skin where you want to look more tan.
Step 6: Make sure you use the slider to lower the intensity of the color if it looks unnatural. If you make a mistake or choose the wrong color, use the undo arrow in the bottom left corner to correct your error.


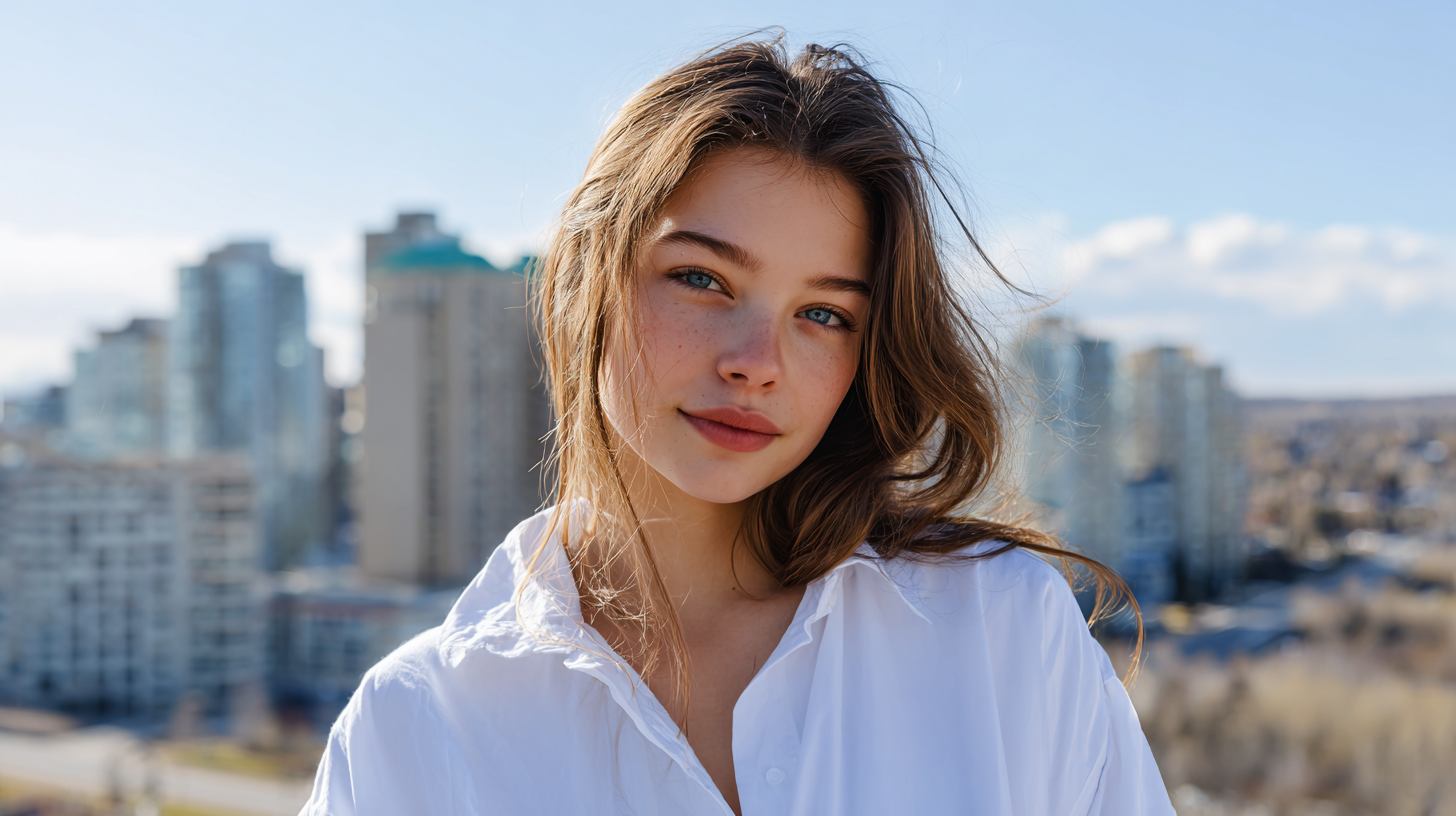
Bonus Step: You can also use filters to add an overall glow. The Golden Hour selfie filters can also add a warm glow to the whole photo.
Adding a tan to your pictures is easy once you've had a bit of practice and found the right color. Once you get really good, you can use several colors in different shades to add more depth to your faux-tan. But once you've got it down, it's super easy to add a natural glow to every photo. A fake tan that won't run, fade, go patchy, or orange? Digital tanning is the dream!