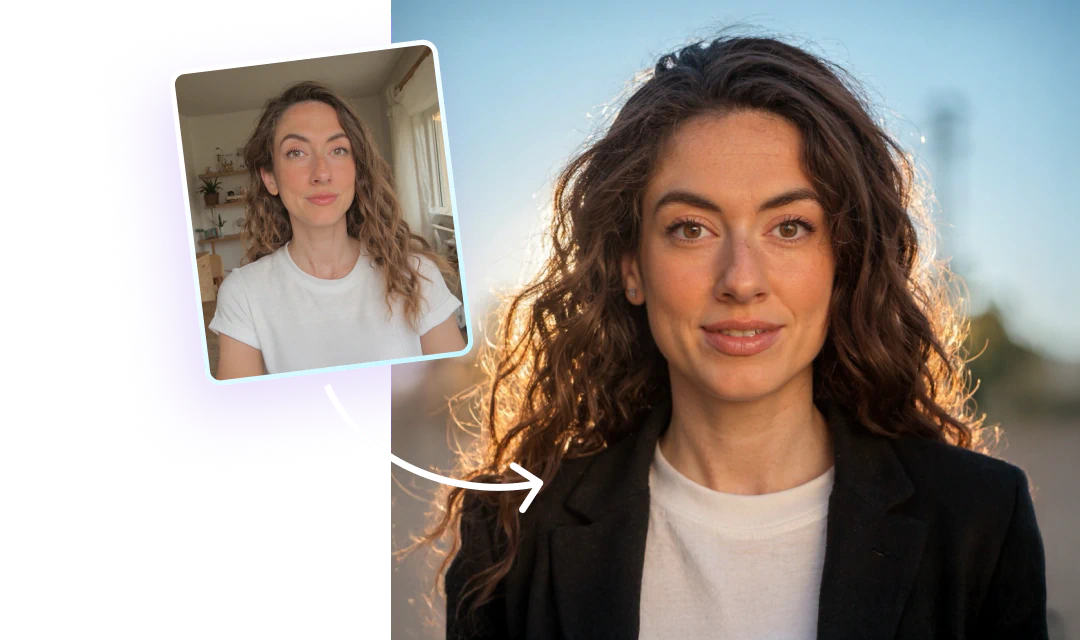
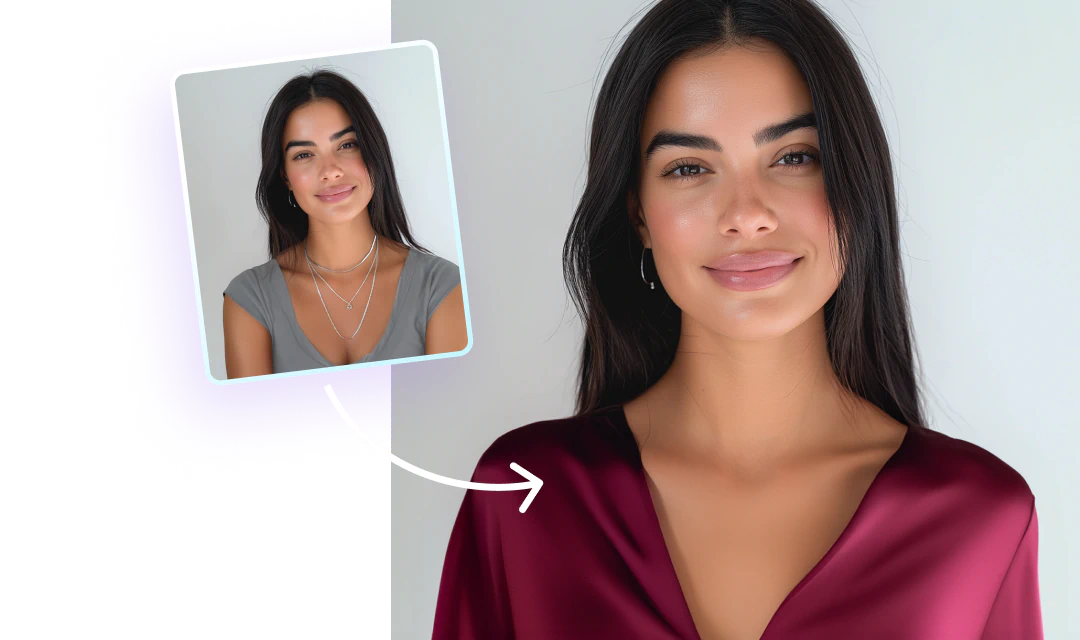
Red eyes in photos, a frequent nuisance caused by flash photography, can detract from the most memorable moments captured on camera. Fortunately, correcting this common issue is straightforward with Facetune, an app designed to refine your photos effortlessly. Whether a seasoned photographer or a casual snapper, Facetune offers an accessible solution on how to fix red eyes and elevate the quality of your images.
Understanding red eye: Cause of red eye in photos
The red eye effect occurs when a camera flash reflects off the retinas in your subjects' eyes, often resulting in eerie, glowing eyes that can spoil an otherwise perfect photo. Contrary to popular belief, why red eyes in photos appear isn’t indicative of poor photography skills but a simple consequence of light physics.
Facetune's solution: Using Facetune for red eye correction
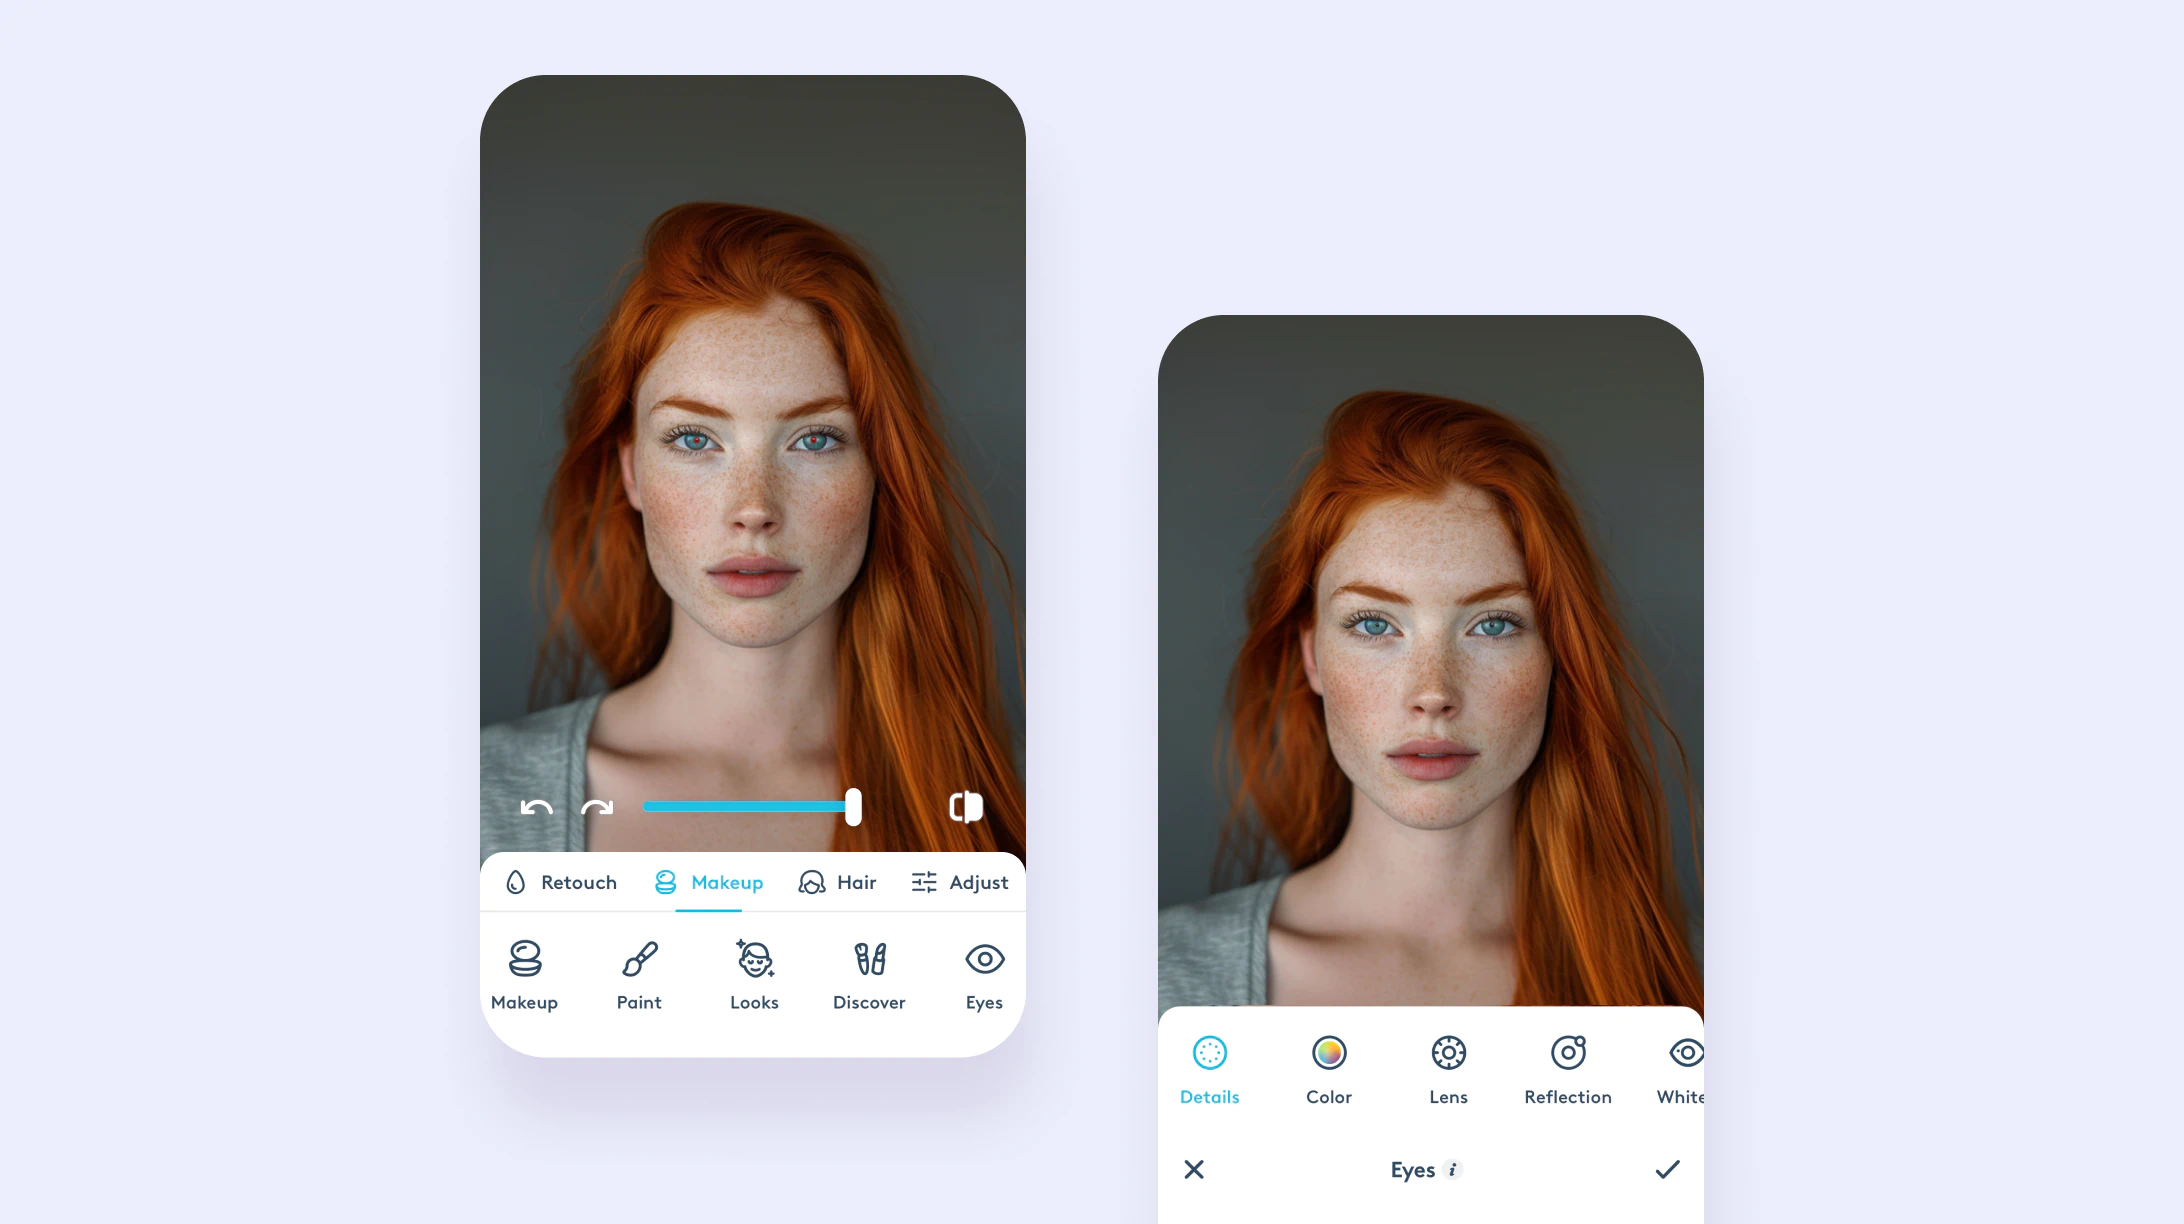
Facetune simplifies photo editing, offering a user-friendly red eye photo remover and fixer tool to swiftly correct red eye effects. By leveraging Facetune's intuitive features, users can transform their photos with just a few taps, ensuring every subject looks their best, free from unnatural eye glows. Within the Facetune app, navigate to the photo editor, tap 'Face', then 'Eyes' to access a suite of options. Beyond basic corrections, you can adjust the size, width, height, and tilt of the eyes, or even the distance between them if they appear too small due to poor lighting.
{{cta-banner-images}}
How to remove red eyes in photos
- Open Facetune and select the photo to edit
- Tap on ‘Face’ and then ‘Eyes’ in the photo editor to explore various adjustments. Here, you can fine-tune the size, width, height, tilt, and distance between the eyes for a more flattering look.
- Navigate to ‘Makeup’ and then ‘Eyes’ for detailed edits. You can play around with details, change colors, and enhance your eye color and detail by adding a lens.
- Reflection: Add a little pop to your eyes with a reflection.
- Whiten: Brighten the whites of your eyes for a fresh look.
- Iris: Enlarge your irises for a striking effect.
- Red Eye: Use the slider under 'Red Eye' to eliminate red eyes effectively.
- After making adjustments, review the changes. If satisfied, save your edited photo for sharing.
Preventing red eye: tips to avoid red eye
While Facetune provides an effective remedy for red eye, preventing it from occurring can save time and ensure your photos turn out great from the start. Tips include using natural light when possible, asking subjects not to look directly at the camera, or avoiding flash by enhancing ambient lighting.
Enhancing your photos: Beyond red eye removal
After addressing the red eye effect, don't stop there. Facetune's 'Eyes' feature under 'Makeup' allows for comprehensive eye enhancements—from adding a lens for color and detail enhancement to using the 'Whiten' feature for brighter eyes. Each tool is designed to ensure your photos not only look natural but also make your eyes stand out beautifully. As well, explore Facetune's comprehensive photo retouch features to discover all the ways you can elevate your photos such as:
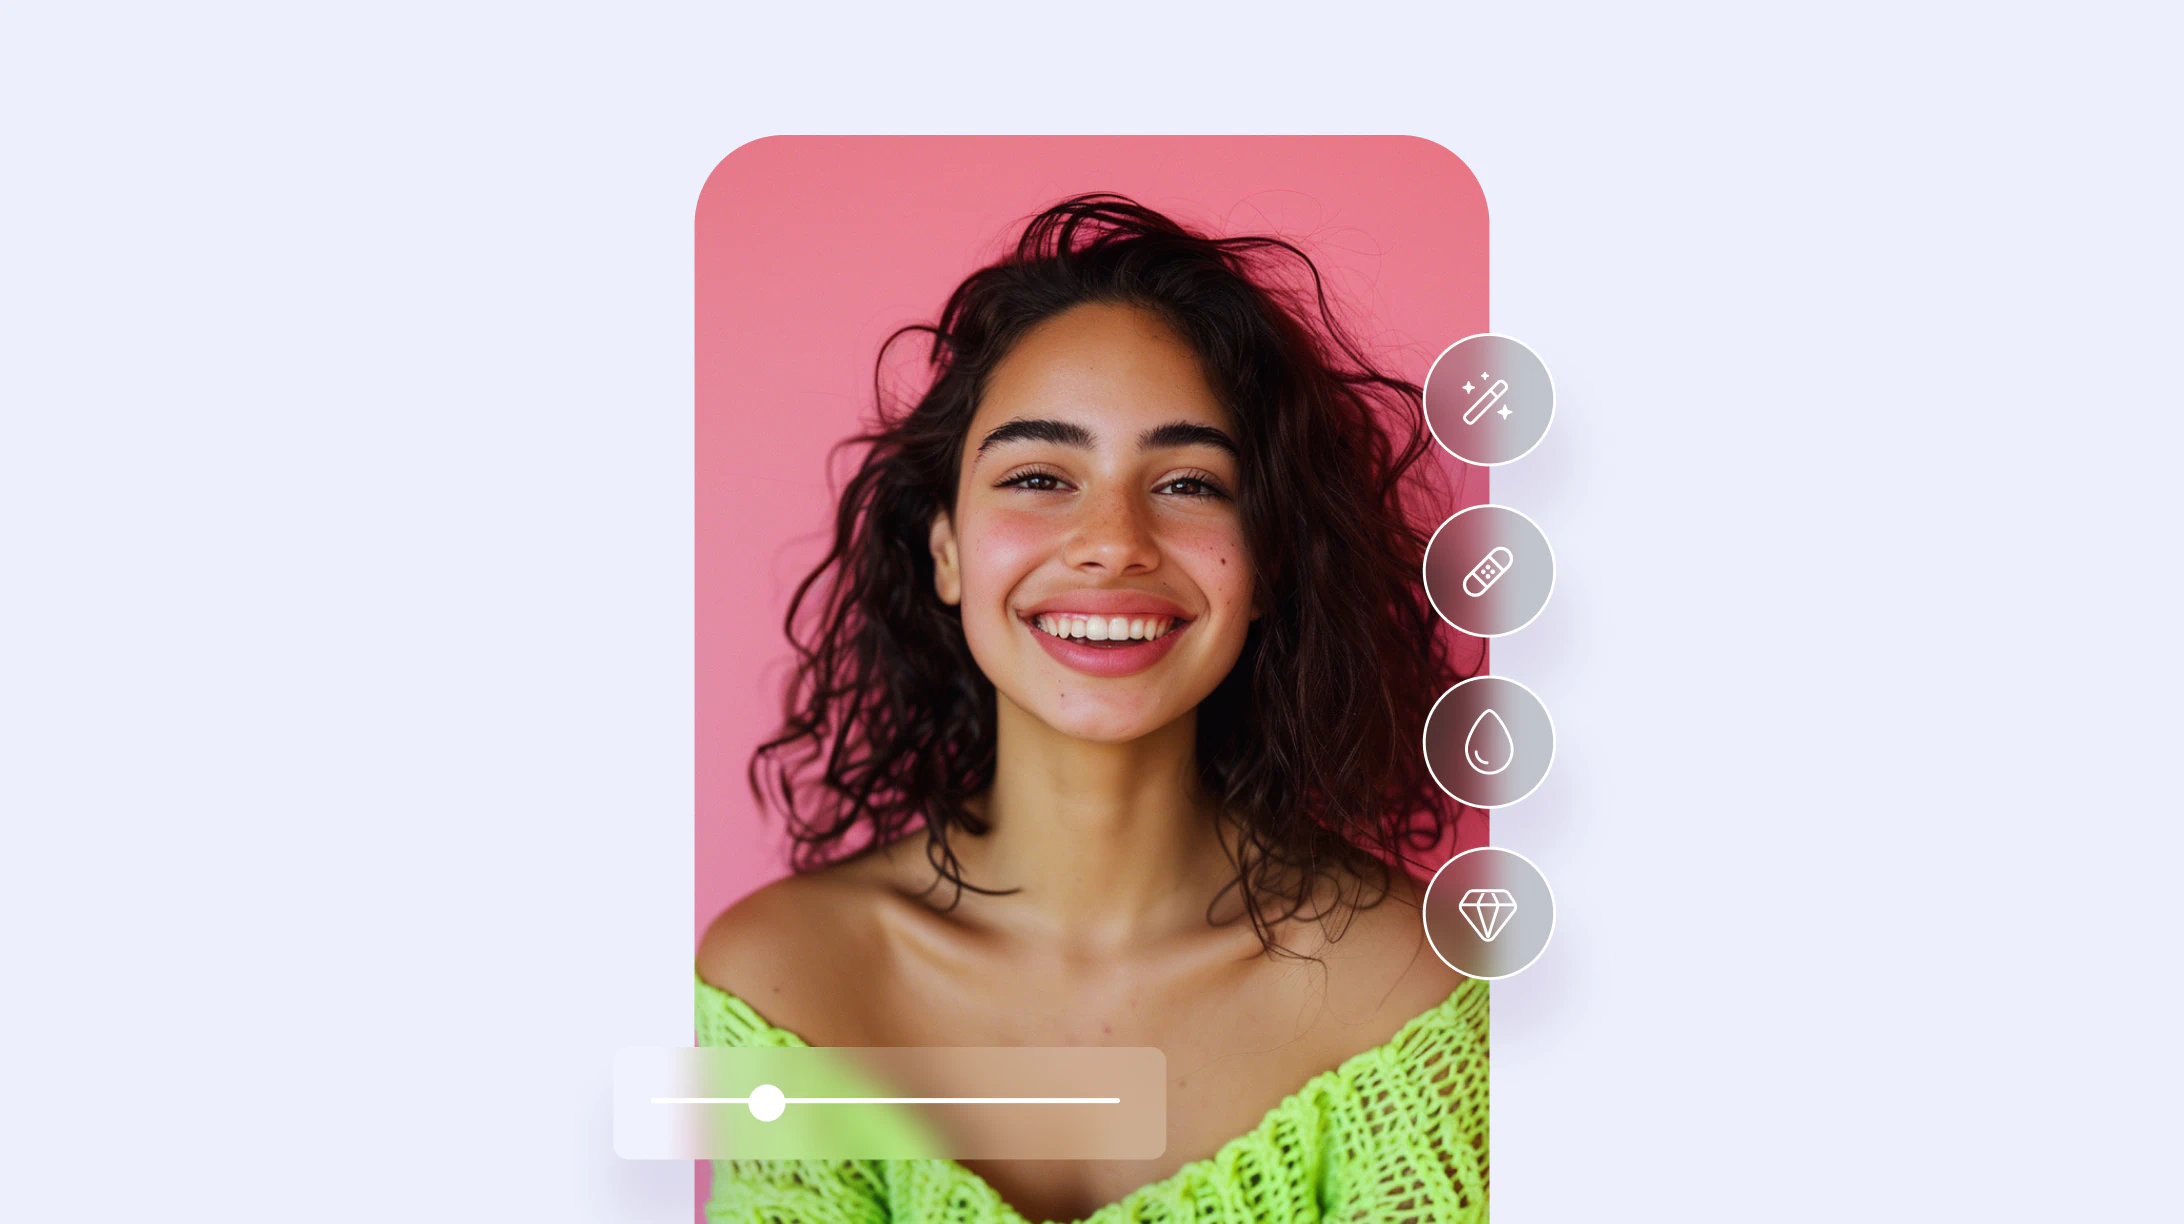
- Smoothing: Achieve flawless skin with the smoothing tool, which can soften textures and even out skin tones without losing natural skin details.
- Healing: Address unexpected blemishes or imperfections instantly with the healing feature, ensuring your skin looks clear and vibrant in every photo.
- Teeth whitening: Brighten your smile effortlessly with the teeth whitening option, adding just the right level of brilliance to make your smile stand out.
Wrapping up
With Facetune, eliminating red eyes and enhancing your photos is not only possible but also quick and easy. By addressing red eye effects and exploring Facetune’s array of photo retouch tools, you can ensure every photo captures your moments exactly as you remember them. Dive into Facetune today and see the difference for yourself in every snapshot you take.


