Capturing the beauty of the great outdoors is an art, but enhancing those images to truly reflect the majesty of nature requires skill and the right tools.
In this comprehensive guide, we'll explore how to edit outdoor photos using Facetune, transforming your nature shots into breathtaking works of art.
Get ready to elevate your outdoor photography game and make Mother Nature jealous of your editing prowess.
Nature Photo Editing Techniques
Let's face it, sometimes Mother Nature needs a little digital makeup.
When it comes to how to edit nature photos, Facetune is your secret weapon.
Start by adjusting exposure and contrast to create depth that even the Grand Canyon would envy.
Then, use the saturation tool with the finesse of a painter – just enough to make colors pop without looking like a psychedelic fever dream.
Remember, we're enhancing natural beauty, not creating a neon wonderland.
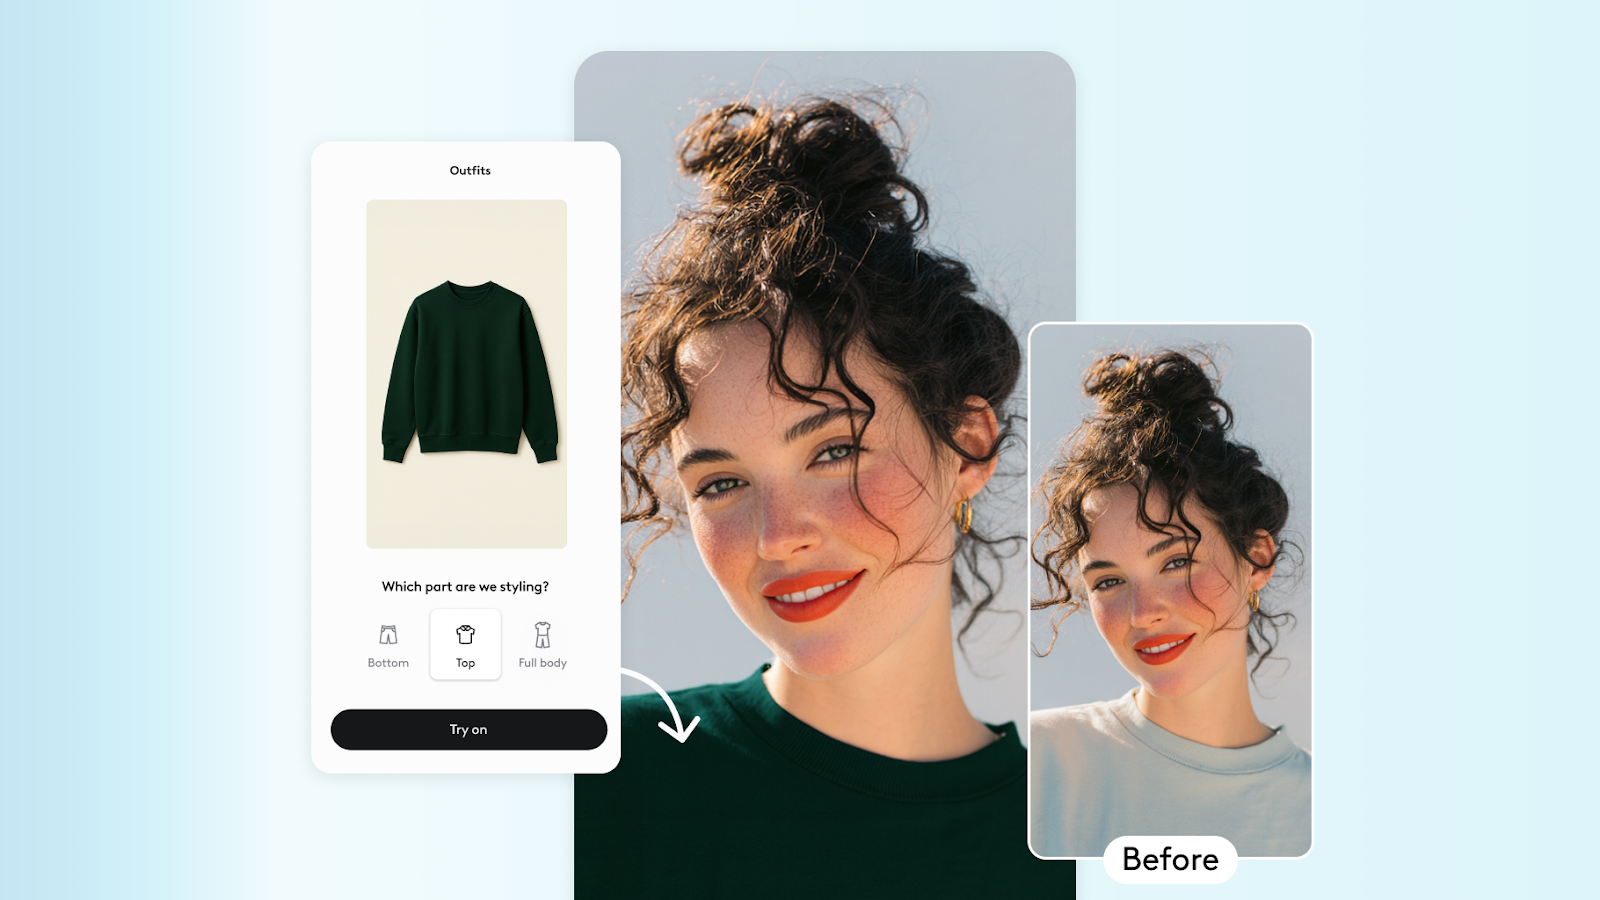
iPhone Outdoor Photo Editing: Tips and Tricks
For all you iPhone-wielding adventurers out there, Facetune's mobile app is about to become your new best friend.
When figuring out how to edit outdoor photos on an iPhone, think of Facetune as your pocket-sized photo wizard.
Use the app's intuitive interface to quickly adjust brightness, enhance details, and apply filters that complement natural lighting faster than you can say "golden hour."
Pro tip: Experiment with the selective adjustment tool to fine-tune specific areas of your outdoor shots. It's like having a tiny photo editor living in your phone.
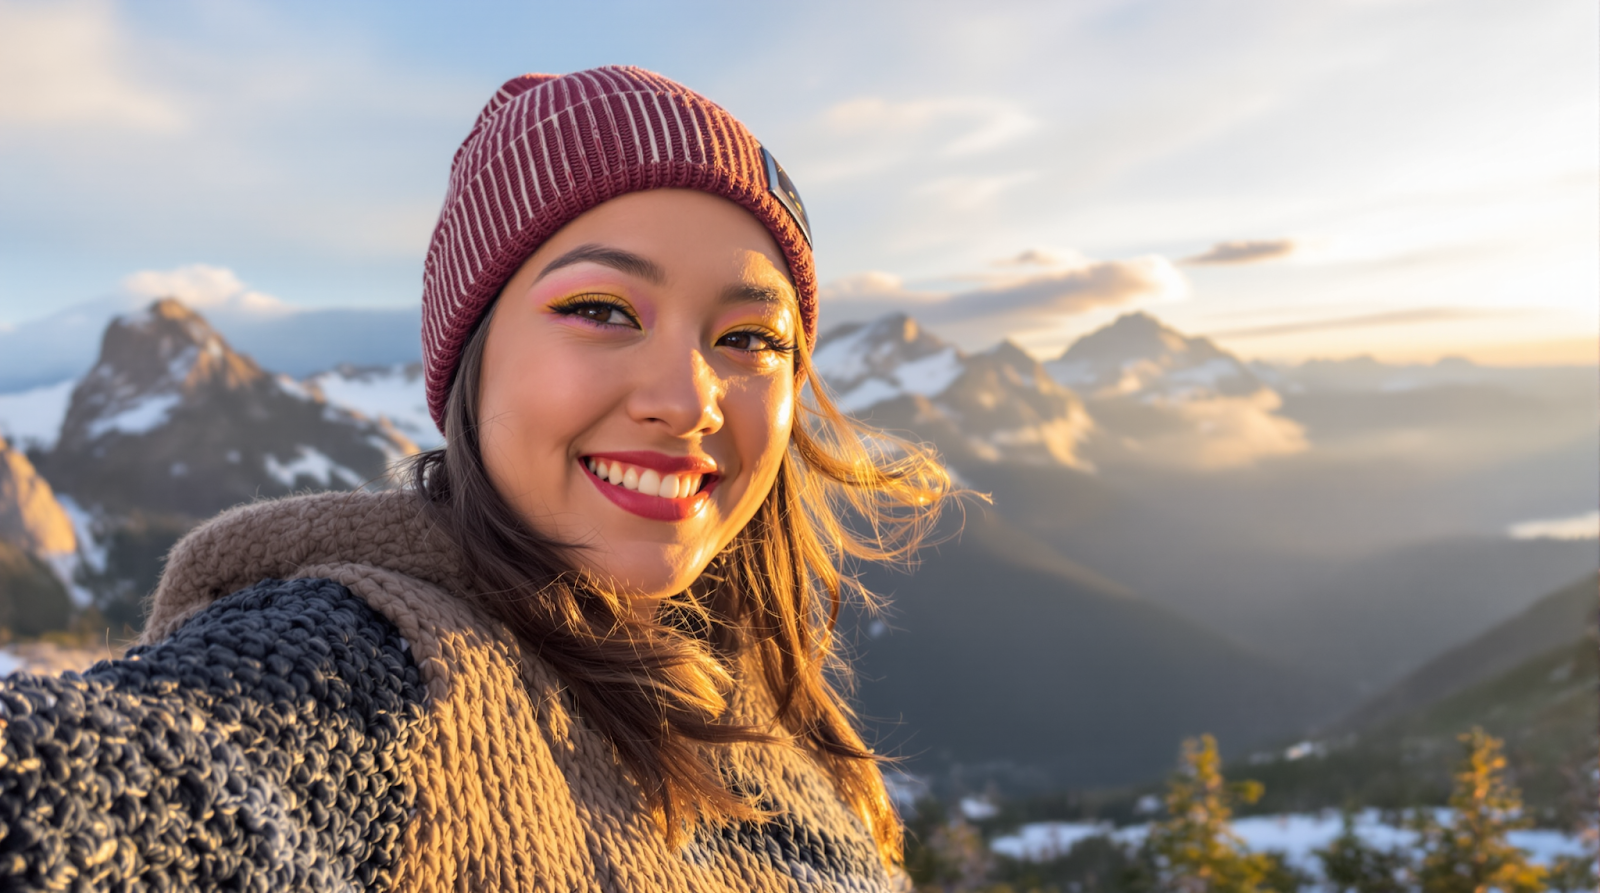
Perfecting Outdoor Portrait Editing
Outdoor portraits can be tricky – one minute you're capturing a serene smile, the next you're battling raccoon eyes from harsh shadows.
But fear not, Facetune's got your back. Use the app's advanced facial recognition to subtly enhance features while maintaining a natural look.
It's like giving your subjects a digital spa day.
The lighting adjustment tools can help balance harsh sunlight or add warmth to golden hour shots, ensuring your subjects look their best against nature's backdrop.
Just remember, we're going for "glowing woodland nymph," not "wax figure left in the sun."
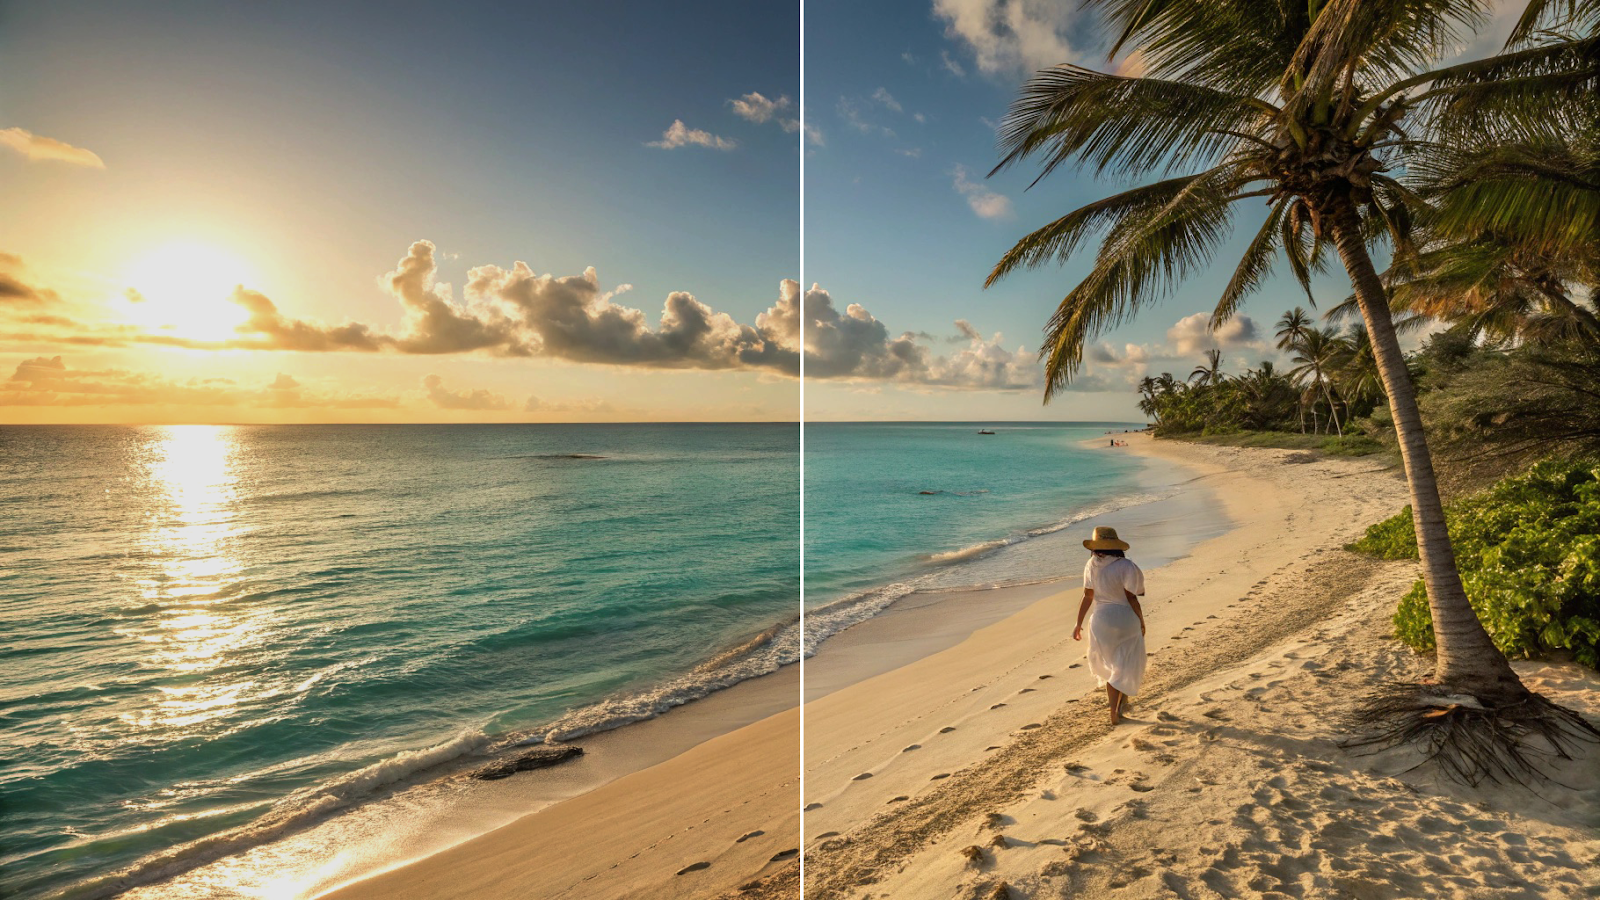
Enhancing Scenic Landscapes in Your Photos
When it comes to editing scenery photos, Facetune turns you into a digital landscape artist.
Use the panorama tools to create sweeping vistas that would make Ansel Adams weep with joy.
The horizon straightening feature ensures your landscapes don't look like they're sliding off the edge of the world.
And let's talk about color grading – it's your chance to play Mother Nature.
Create moody forest scenes or vibrant sunsets that make the sky look like it's on fire (in a good way).
Just remember, with great power comes great responsibility – don't go overboard unless you're aiming for the "apocalyptic chic" look.
Capturing and Editing Stunning Outdoor Photographs
Before you even think about editing, let's talk about how to take good outdoor photos.
It's like baking – start with quality ingredients, and you're halfway there.
Focus on composition and lighting when shooting outdoors.
Once you've captured your masterpiece, use Facetune's cropping and perspective tools to refine the composition.
It's like giving your photo a stylish haircut. And don't be afraid to experiment with the app's preset filters as a starting point.
Think of them as training wheels for your editing journey.
The Editing Process for Adventure and Outdoor Photography
Developing a consistent editing workflow in Facetune is like creating your secret recipe for awesome photos.
Start with the basics – exposure and contrast are your salt and pepper.
Then move on to color grading and detail enhancement, the spices that give your image flavor.
Finally, use Facetune's advanced tools to add those creative touches that make your adventure photos pop.
Tackling Harsh Sunlight in Photo Editing
Harsh sunlight can turn your dreamy outdoor shot into a washed-out nightmare faster than you can say "overexposed."
But fear not, Facetune's highlight recovery and shadow adjustment tools are here to save the day.
These features are perfect for balancing extreme lighting conditions, letting you recover detail in overexposed skies and brighten shadowy areas.
For more tips on dealing with tricky lighting, check out our guide on how to remove shadows in selfies.

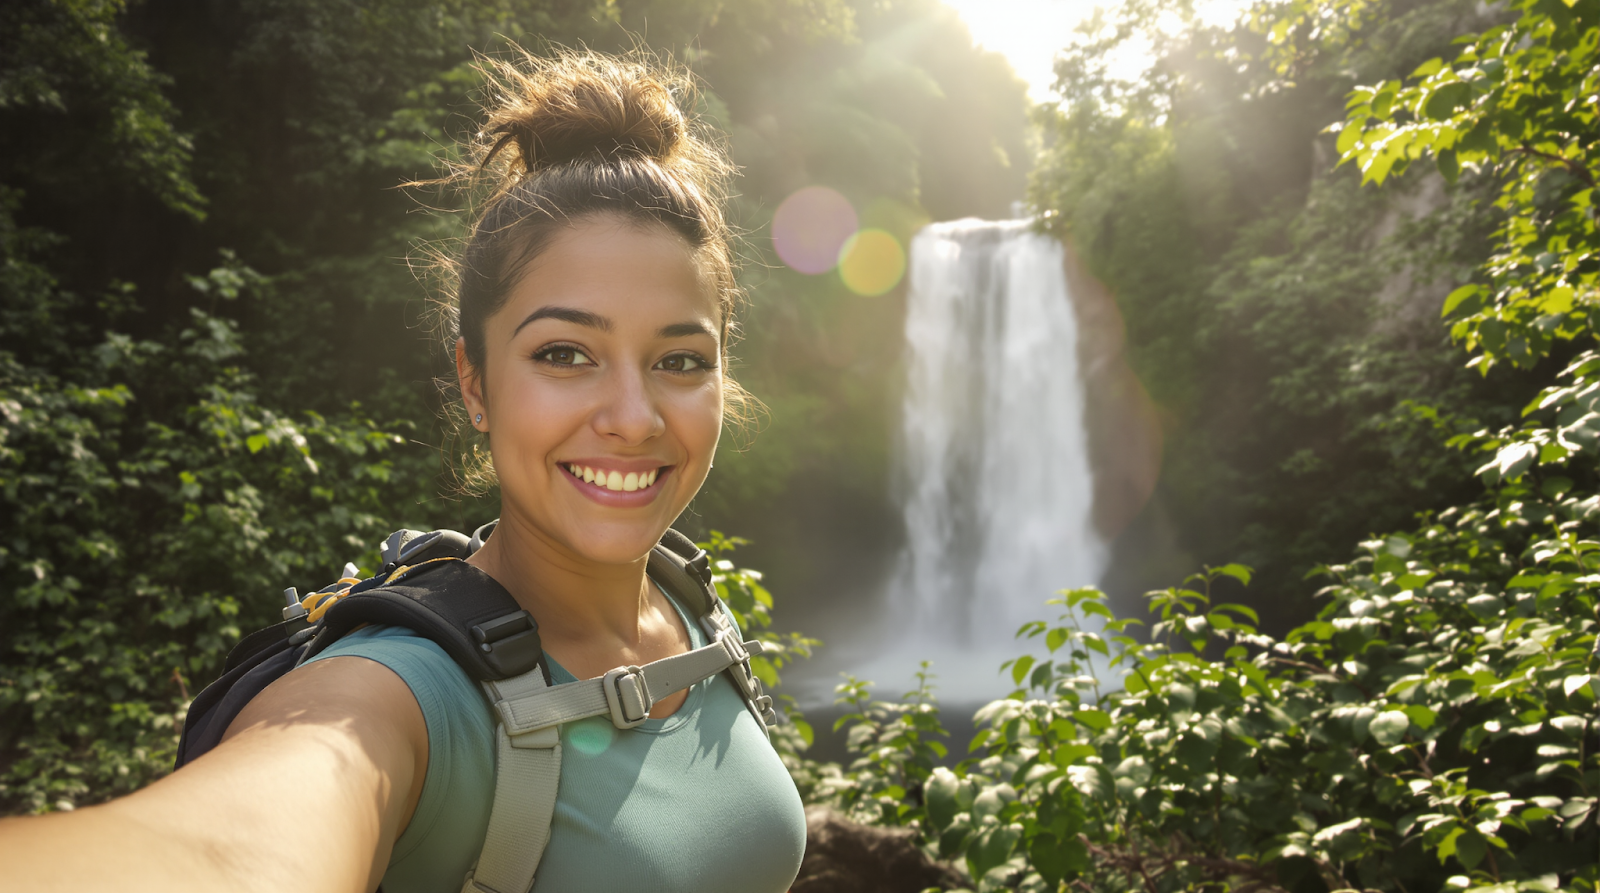
Creating Incredible Adventure Photography Edits
Adventure photography is all about capturing those heart-stopping moments when adrenaline meets beauty.
Use Facetune's motion blur and sharpening tools to enhance action shots – make that mountain biker look like they're breaking the sound barrier.
Experiment with the app's HDR features to bring out details in high-contrast scenes, perfect for those "hanging off a cliff" selfies (which we don't endorse, by the way).
Don't be afraid to push creative boundaries to convey the excitement of your adventures.
After all, if your edited photo doesn't make your followers' palms sweat a little, did you even go on an adventure?
Mastering outdoor photo editing with Facetune is like unlocking a secret level in the game of photography.
By understanding the basic components of photo editing for adventure and applying these techniques consistently, you'll be able to transform your nature shots into visual stories that make people want to lick their screens (please don't actually do this).
Remember, the goal is to enhance the natural beauty of your outdoor photos, not to create something that looks like it came from another planet (unless that's your thing, we don't judge).
With practice and the powerful tools Facetune offers, you'll soon be creating incredible edits that showcase the true majesty of the great outdoors.
Now go forth and make those mountains look even more majestic!