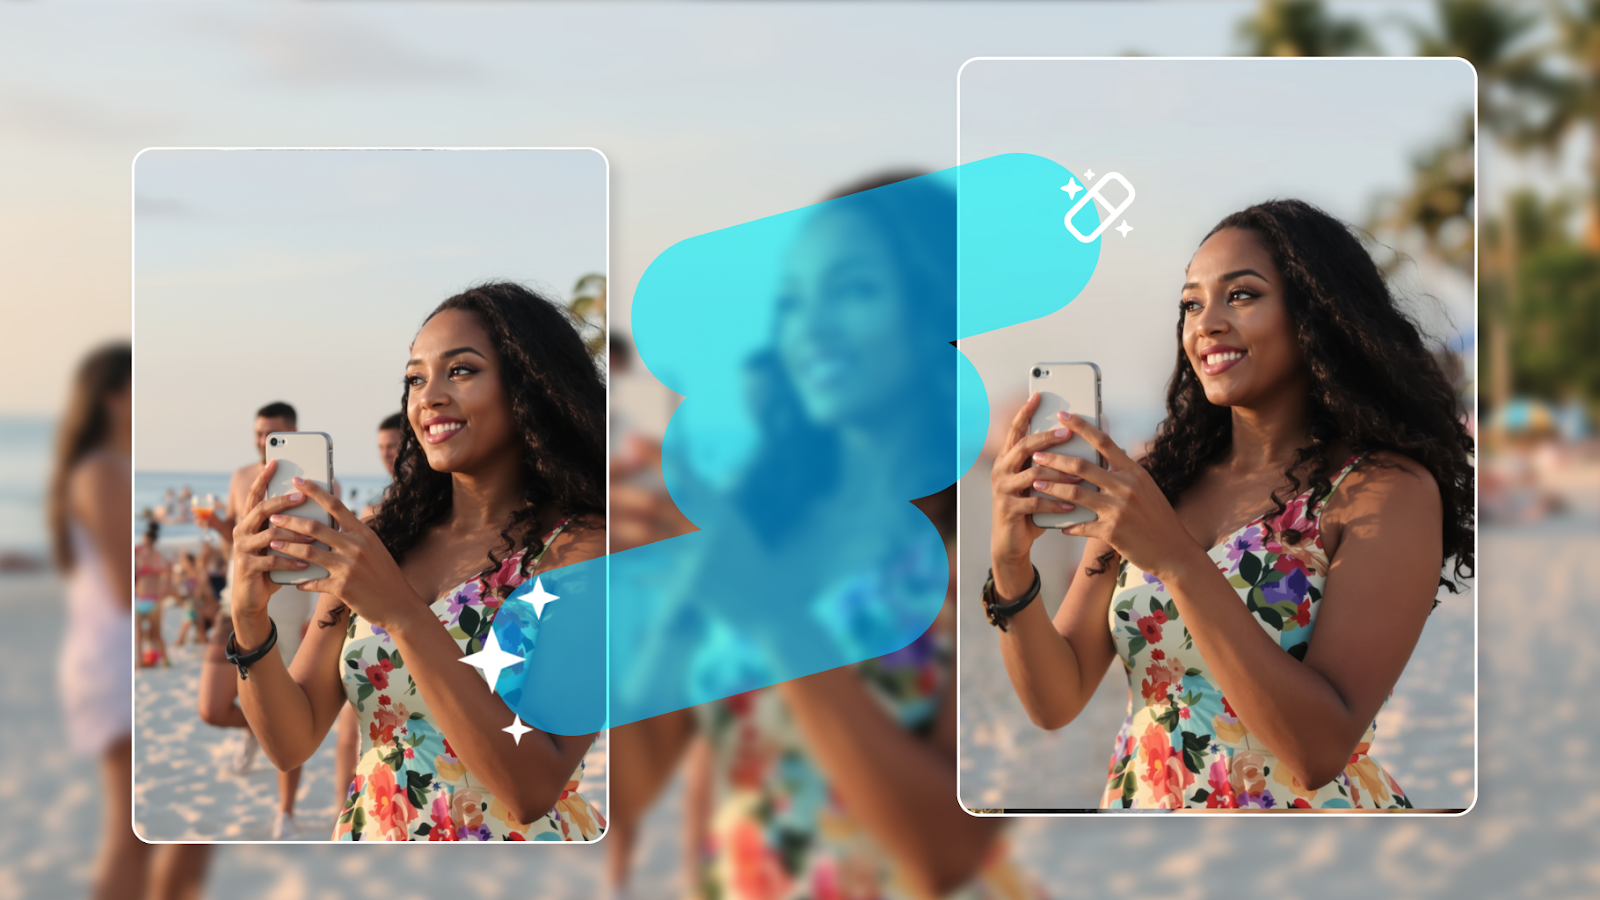
In today's visual world, we are constantly capturing and sharing moments through the lens of our smartphones.
The iPhone camera has evolved into a powerful photography tool, allowing us to preserve memories with stunning quality. However, even the most striking images can benefit from some editing magic to achieve that coveted professional, magazine-worthy look.
This is where the true power of smartphone photography lies – in the ability to not just take but also enhance and transform your photos right from your mobile device.
{{cta-banner-images}}
Enter Facetune, the all-in-one creative studio for iPhone photographers. This comprehensive photo editing app harnesses cutting-edge technologies like AI and machine learning to elevate your visual content to new heights.
Whether you're a budding influencer, passionate photographer, or simply someone who loves capturing life's special moments, Facetune, the go-to photo edit on iPhone app, empowers you to unlock your creative potential and produce truly impressive results with just a few taps.
But before we dive into the vast capabilities of Facetune, let's first explore the editing tools already at your fingertips within the native iPhone Photos app.
How to edit photos on iPhone
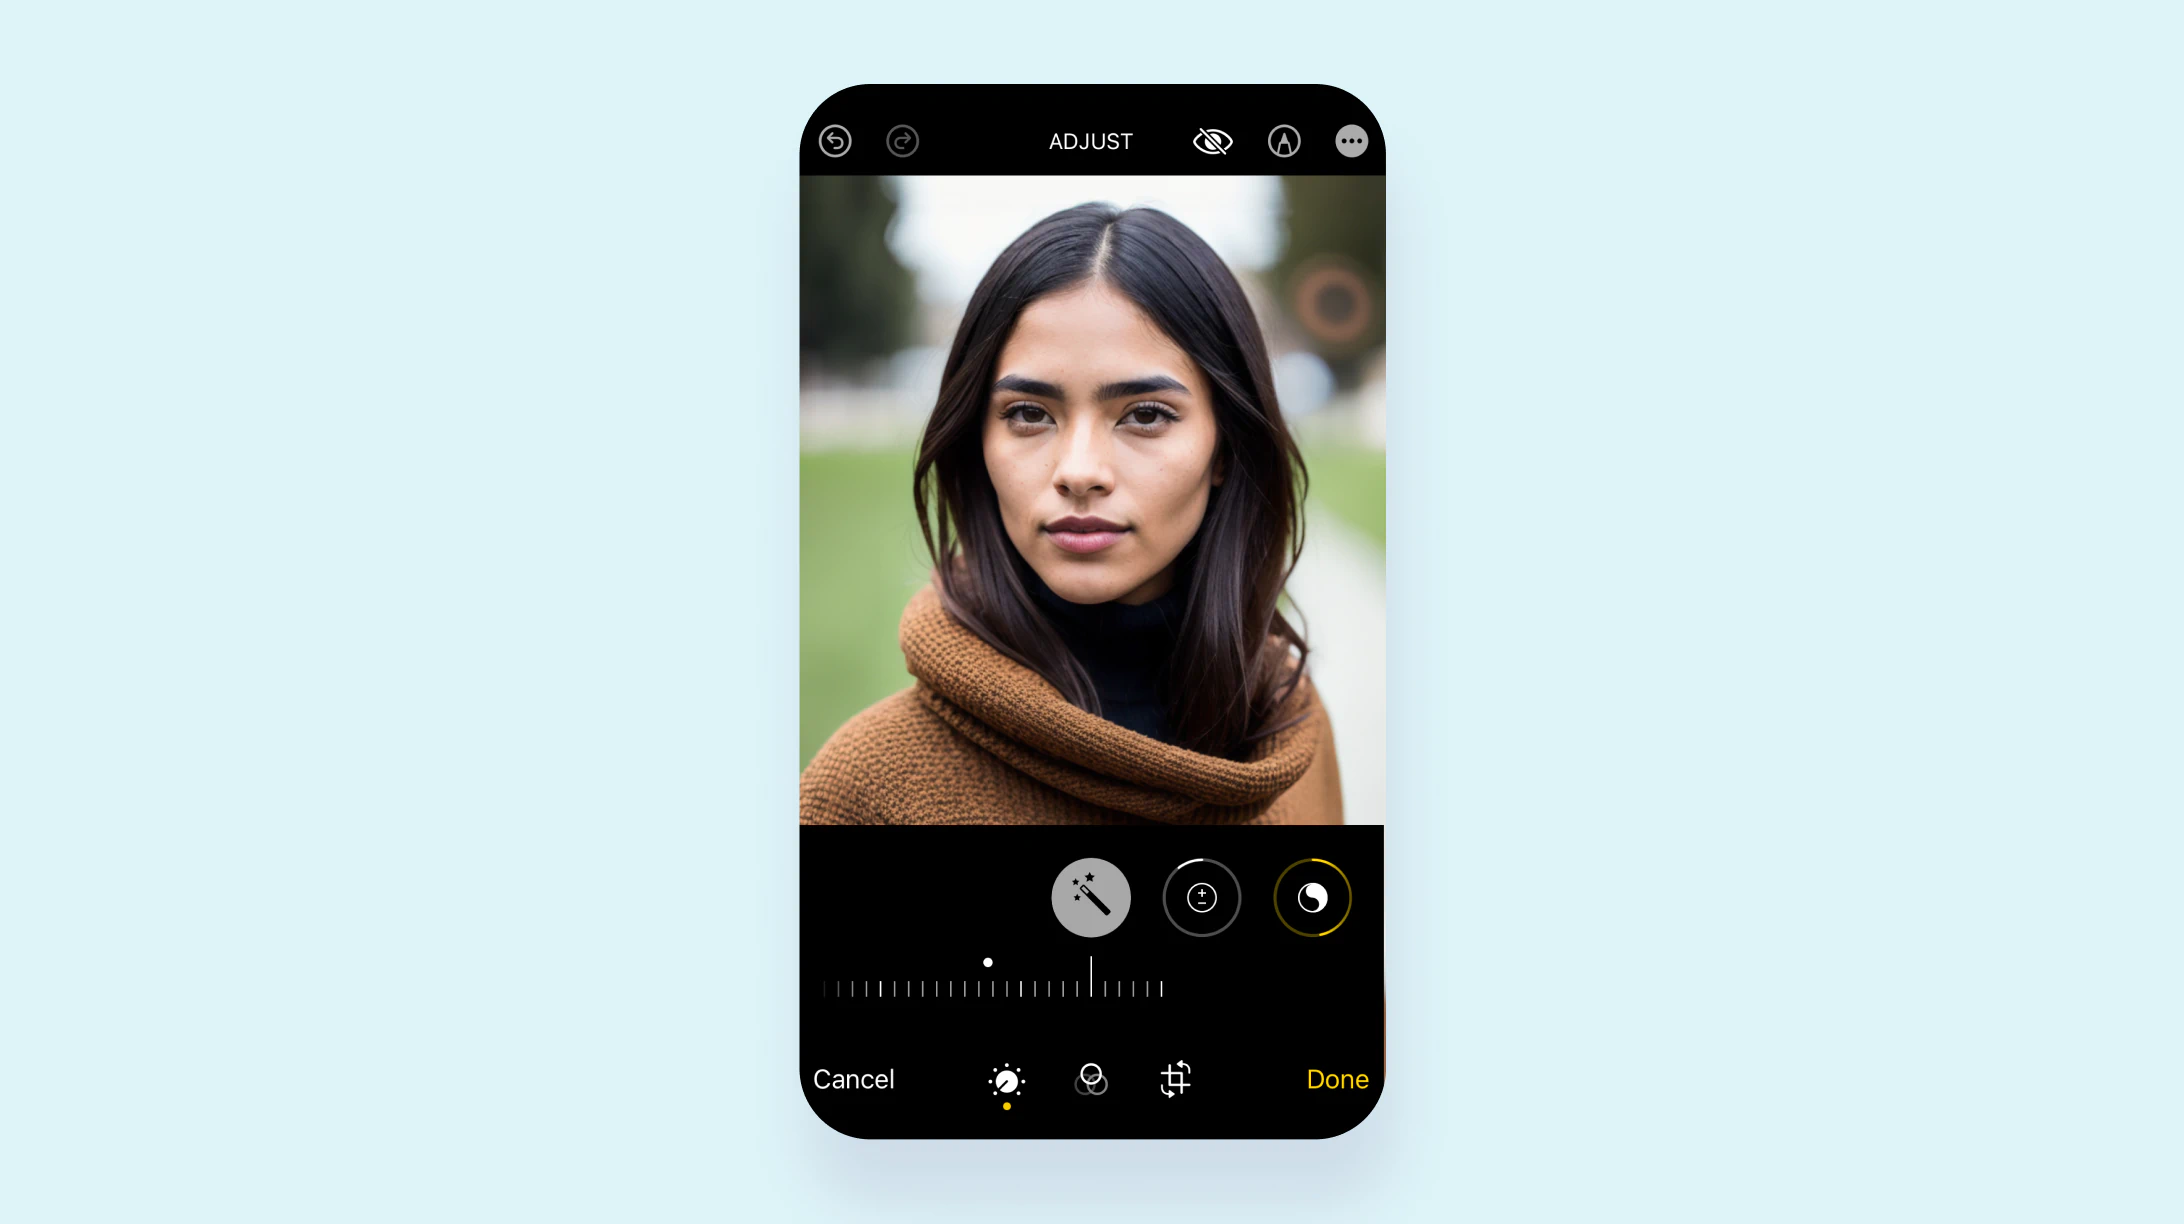
While the iPhone camera captures stunning images, sometimes a little editing is needed to truly make your photos pop. Thankfully, the Photos app comes equipped with a suite of editing tools that allow you to make basic adjustments and give your shots that extra oomph.
Getting started on iPhone:
Start with the fundamentals directly on your iPhone:
- Cropping and orientation: Adjust the frame by cropping; straighten or flip your photo to get the perfect alignment.
- Exposure and color adjustment: Modify exposure, brightness, and contrast to bring out the best in your photos. Tweak saturation and warmth to enhance colors or create a mood.
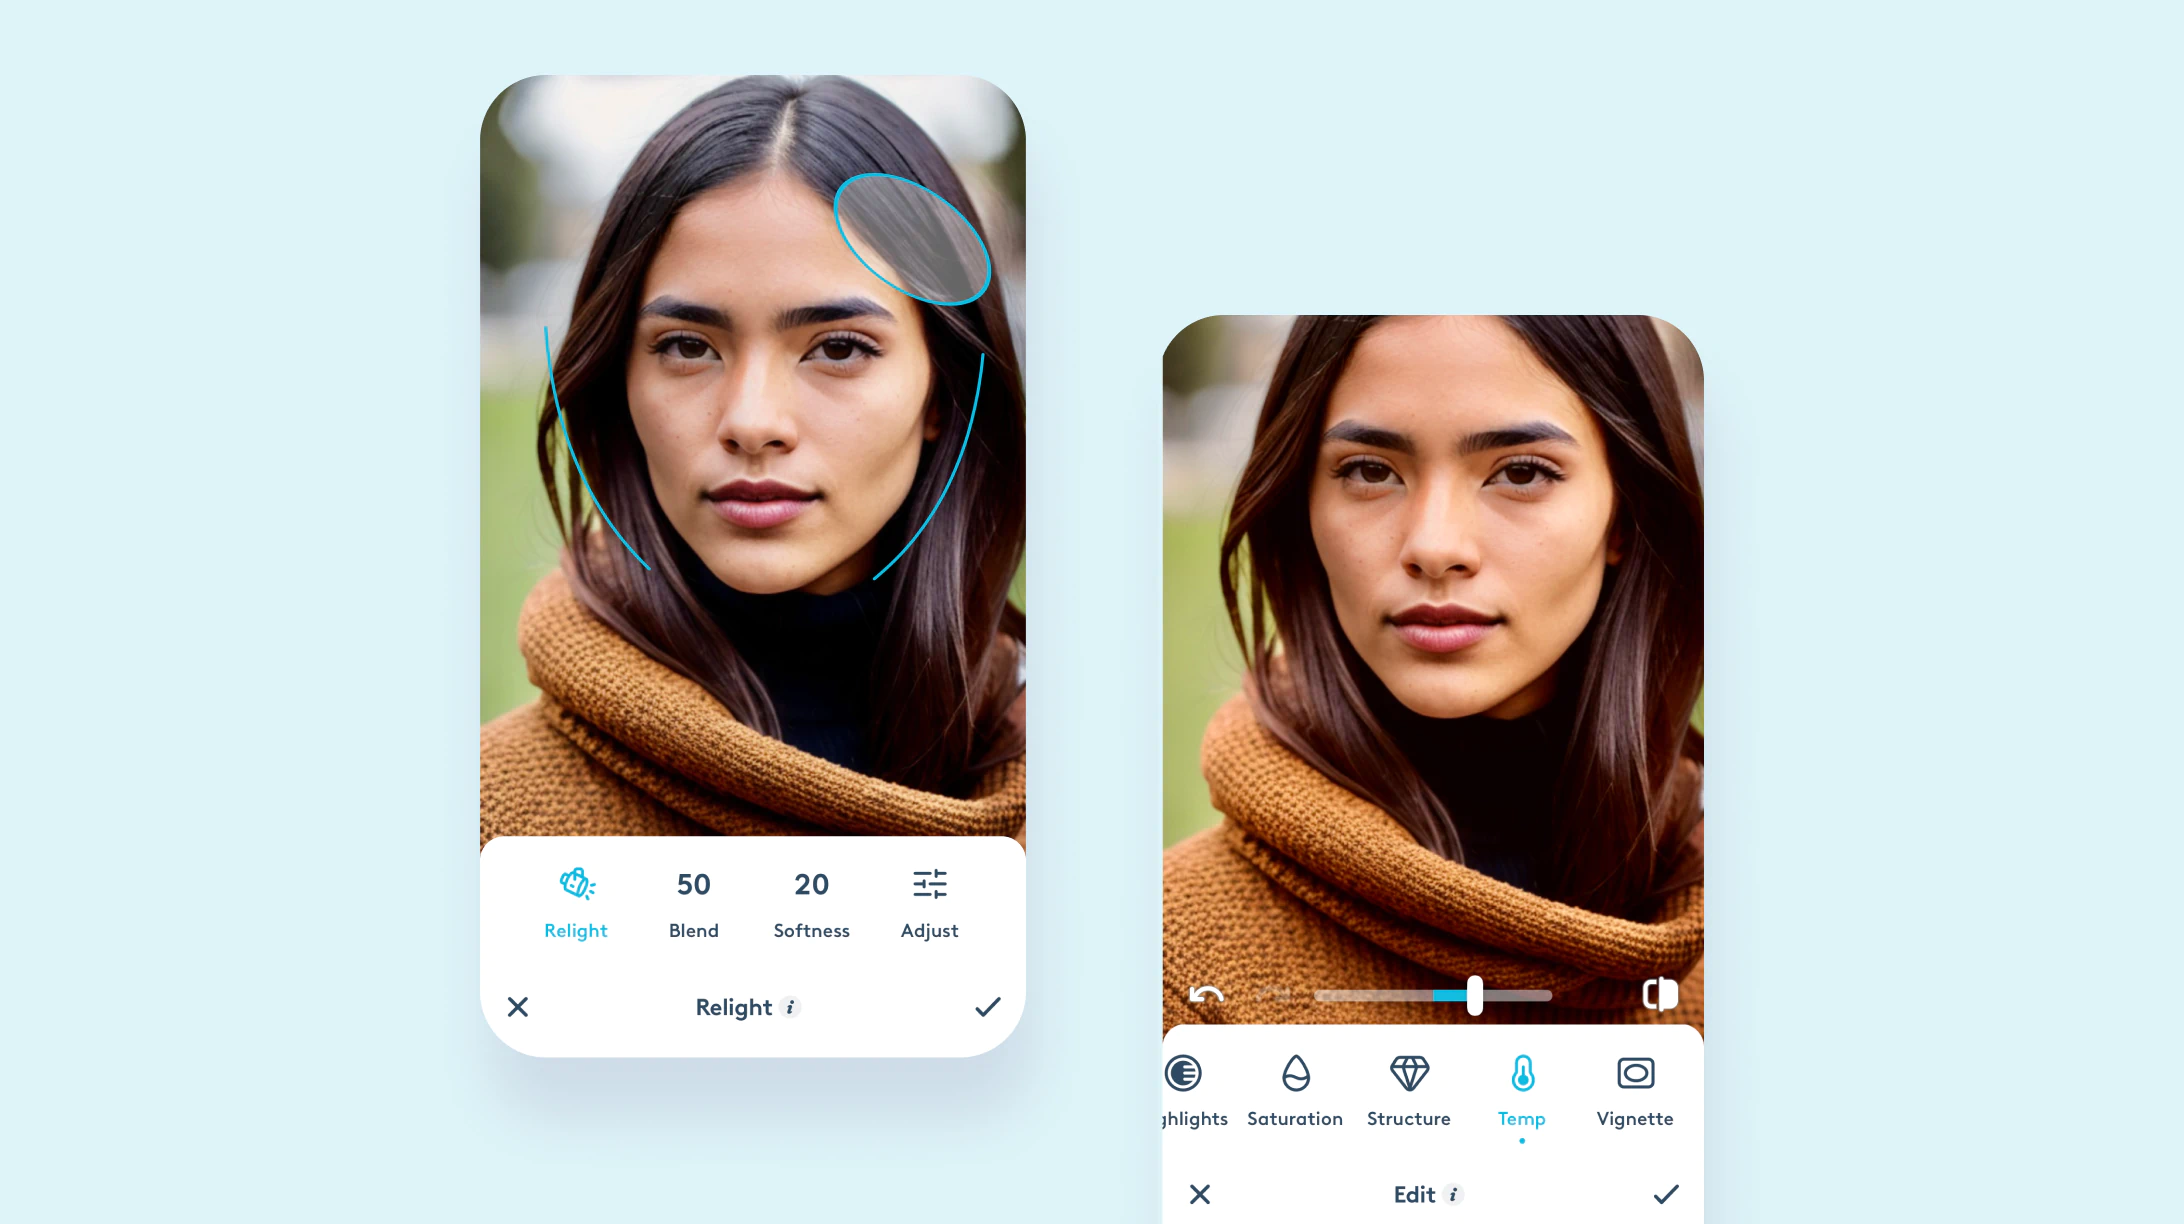
Facetune enhancement:
Facetune takes these basic edits further by offering precise control and additional options like:
- Detailed light adjustments: Use Facetune’s Relight tool to fine-tune the lighting with more granularity.
- Advanced color correction: Go beyond basic adjustments with sophisticated tools that can change the temperature, tint, and even individual color vibrancy.
- Crop photos: Go beyond basic cropping with Facetune's advanced crop options like fixed ratios and presets for different social media platforms make it the best way to edit photos on iPhone for different aspect ratios.
Depth and detail: Elevating image quality
iPhone’s capabilities
- Sharpness and definition: Enhance the clarity of your photo on your iPhone by adjusting sharpness to bring out textures and details.
Facetune’s superior tools:
- AI Image Enhancer: Make iPhone editing a breeze by automatically adjusting sharpness and clarity on your entire photo in just one tap.
- Texture effects: Add or refine textures to make your photos look more dynamic and professional.

The art of retouching: Subtle yet powerful
Simple touch-ups on iPhone
- Remove red eye: Remove red eye from photos directly within the Photos app.
Facetune’s comprehensive retouching:
- Red eye: Replace red eye with realistic details, colors, and reflections.
- Minimize or maximize features: Easily smooth skin, remove more significant blemishes, and even out skin tone.
Applying professional filters: From basic to brilliant
Filters on iPhone
- Built-in filters: Apply preset filters available in the Photos app for quick enhancements.
Expanding options with Facetune:
- Diverse filter collection: Choose from a wide array of photo filters in Facetune that cater to every aesthetic, from vintage looks to modern, vibrant styles.
- Customizable effects: Adjust the intensity and blending of filters to achieve a unique look that stands out from Neon to Light FX.
- Blur images: Selectively blur areas of your photos to direct focus or create stylistic effects with Facetune's blur tools.
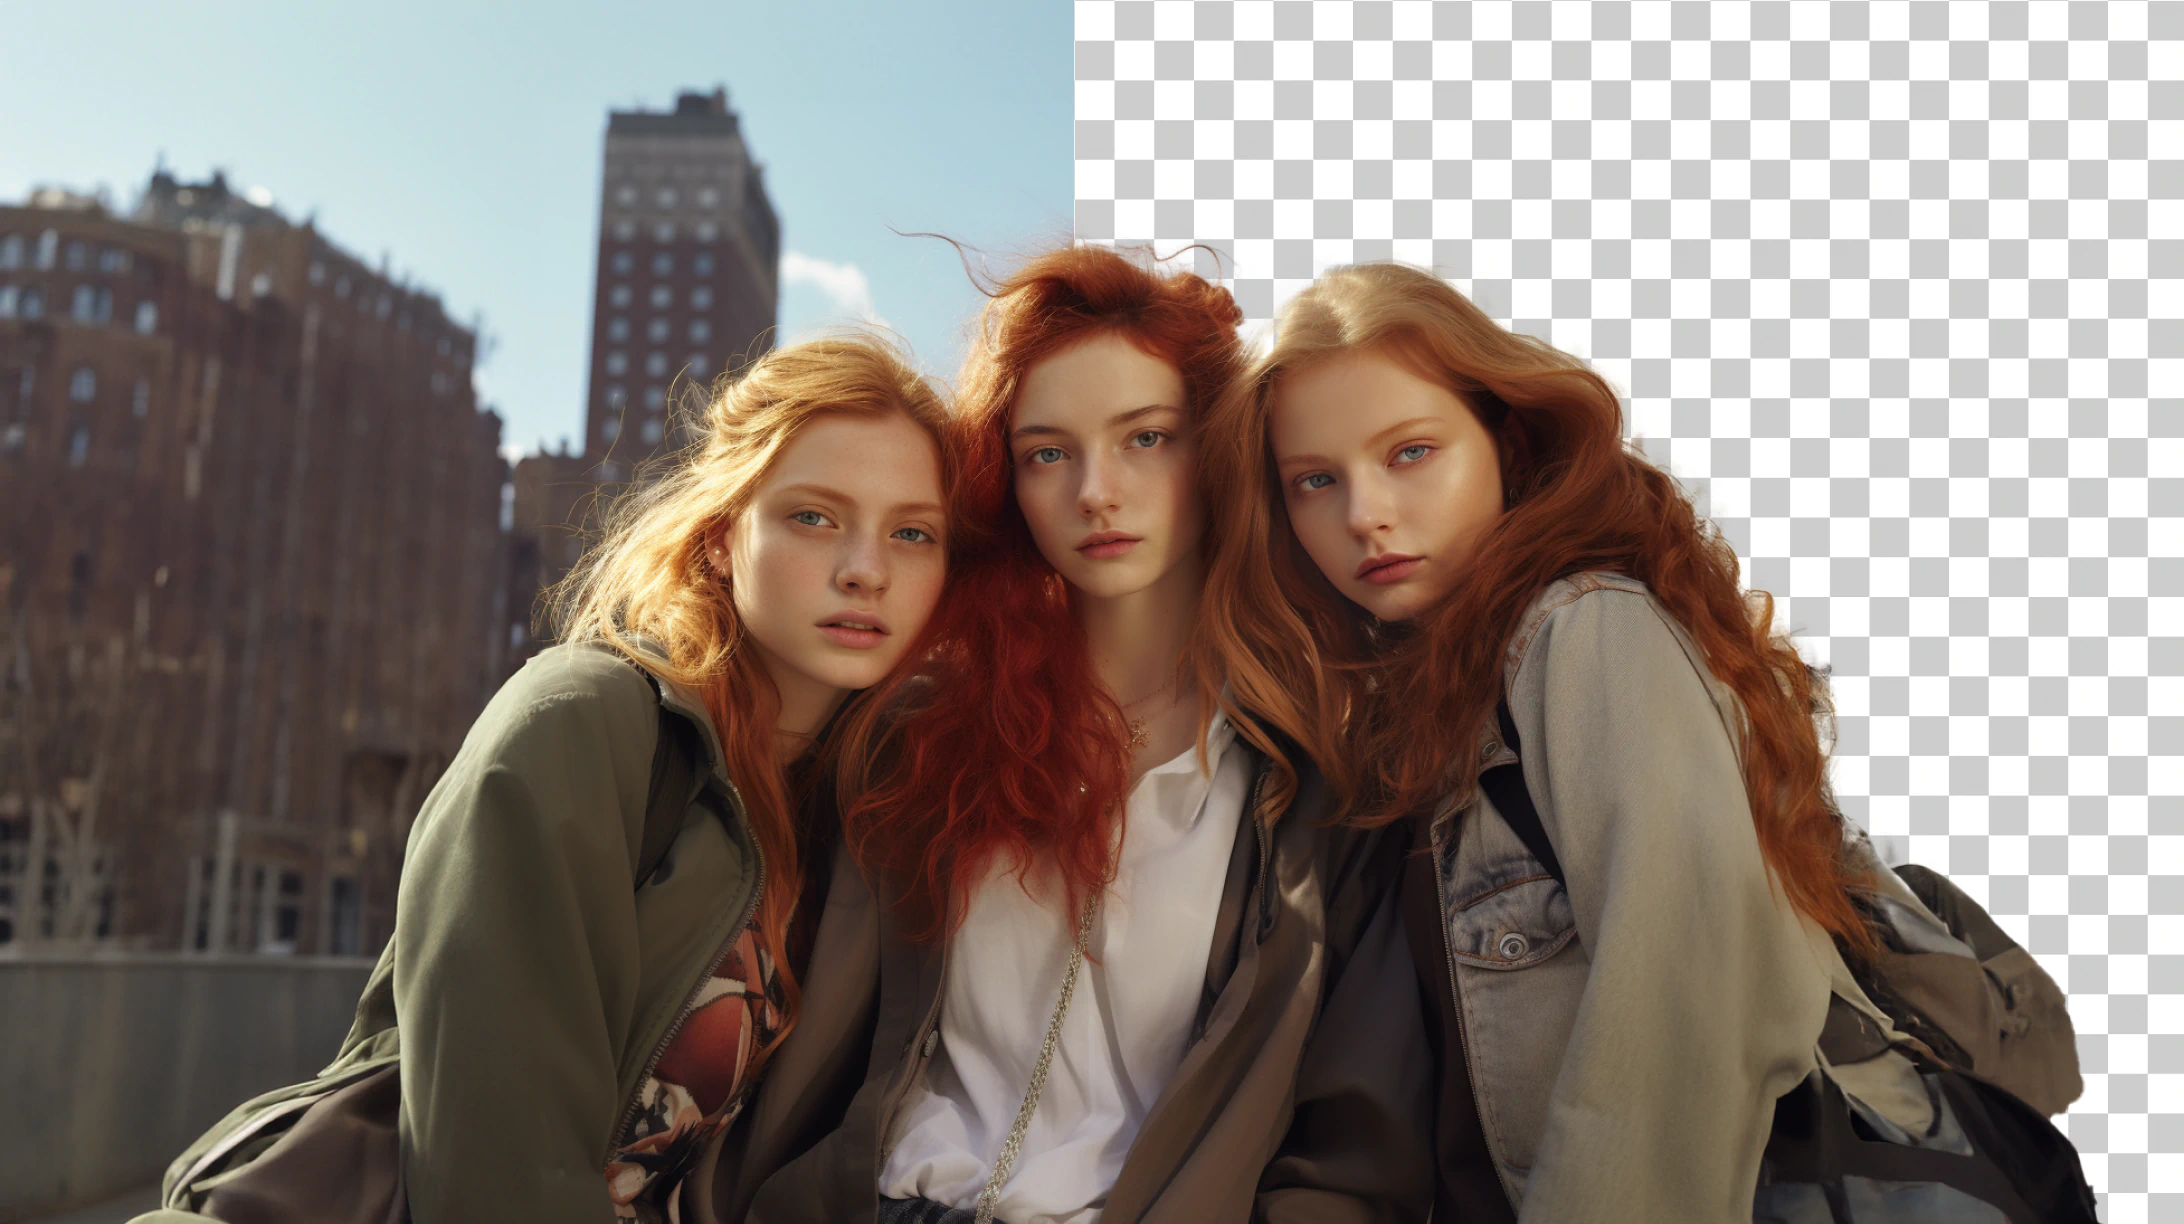
Background & unwanted objects removal
On iPhone: No background or object removal capability.
With Facetune: Precisely remove background elements or distractions with the ‘Vanish’ feature, offering a cleaner, more focused image. Plus, explore ‘Backdrops’ to remove background from photos.
Final touches: Facetune unlocks full creative potential
While the iPhone's built-in editing tools provide basic adjustments, Facetune completely transforms how to edit your pictures on iPhone. Facetune unlocks the full potential of smartphone photography with advanced capabilities powered by AI and machine learning.
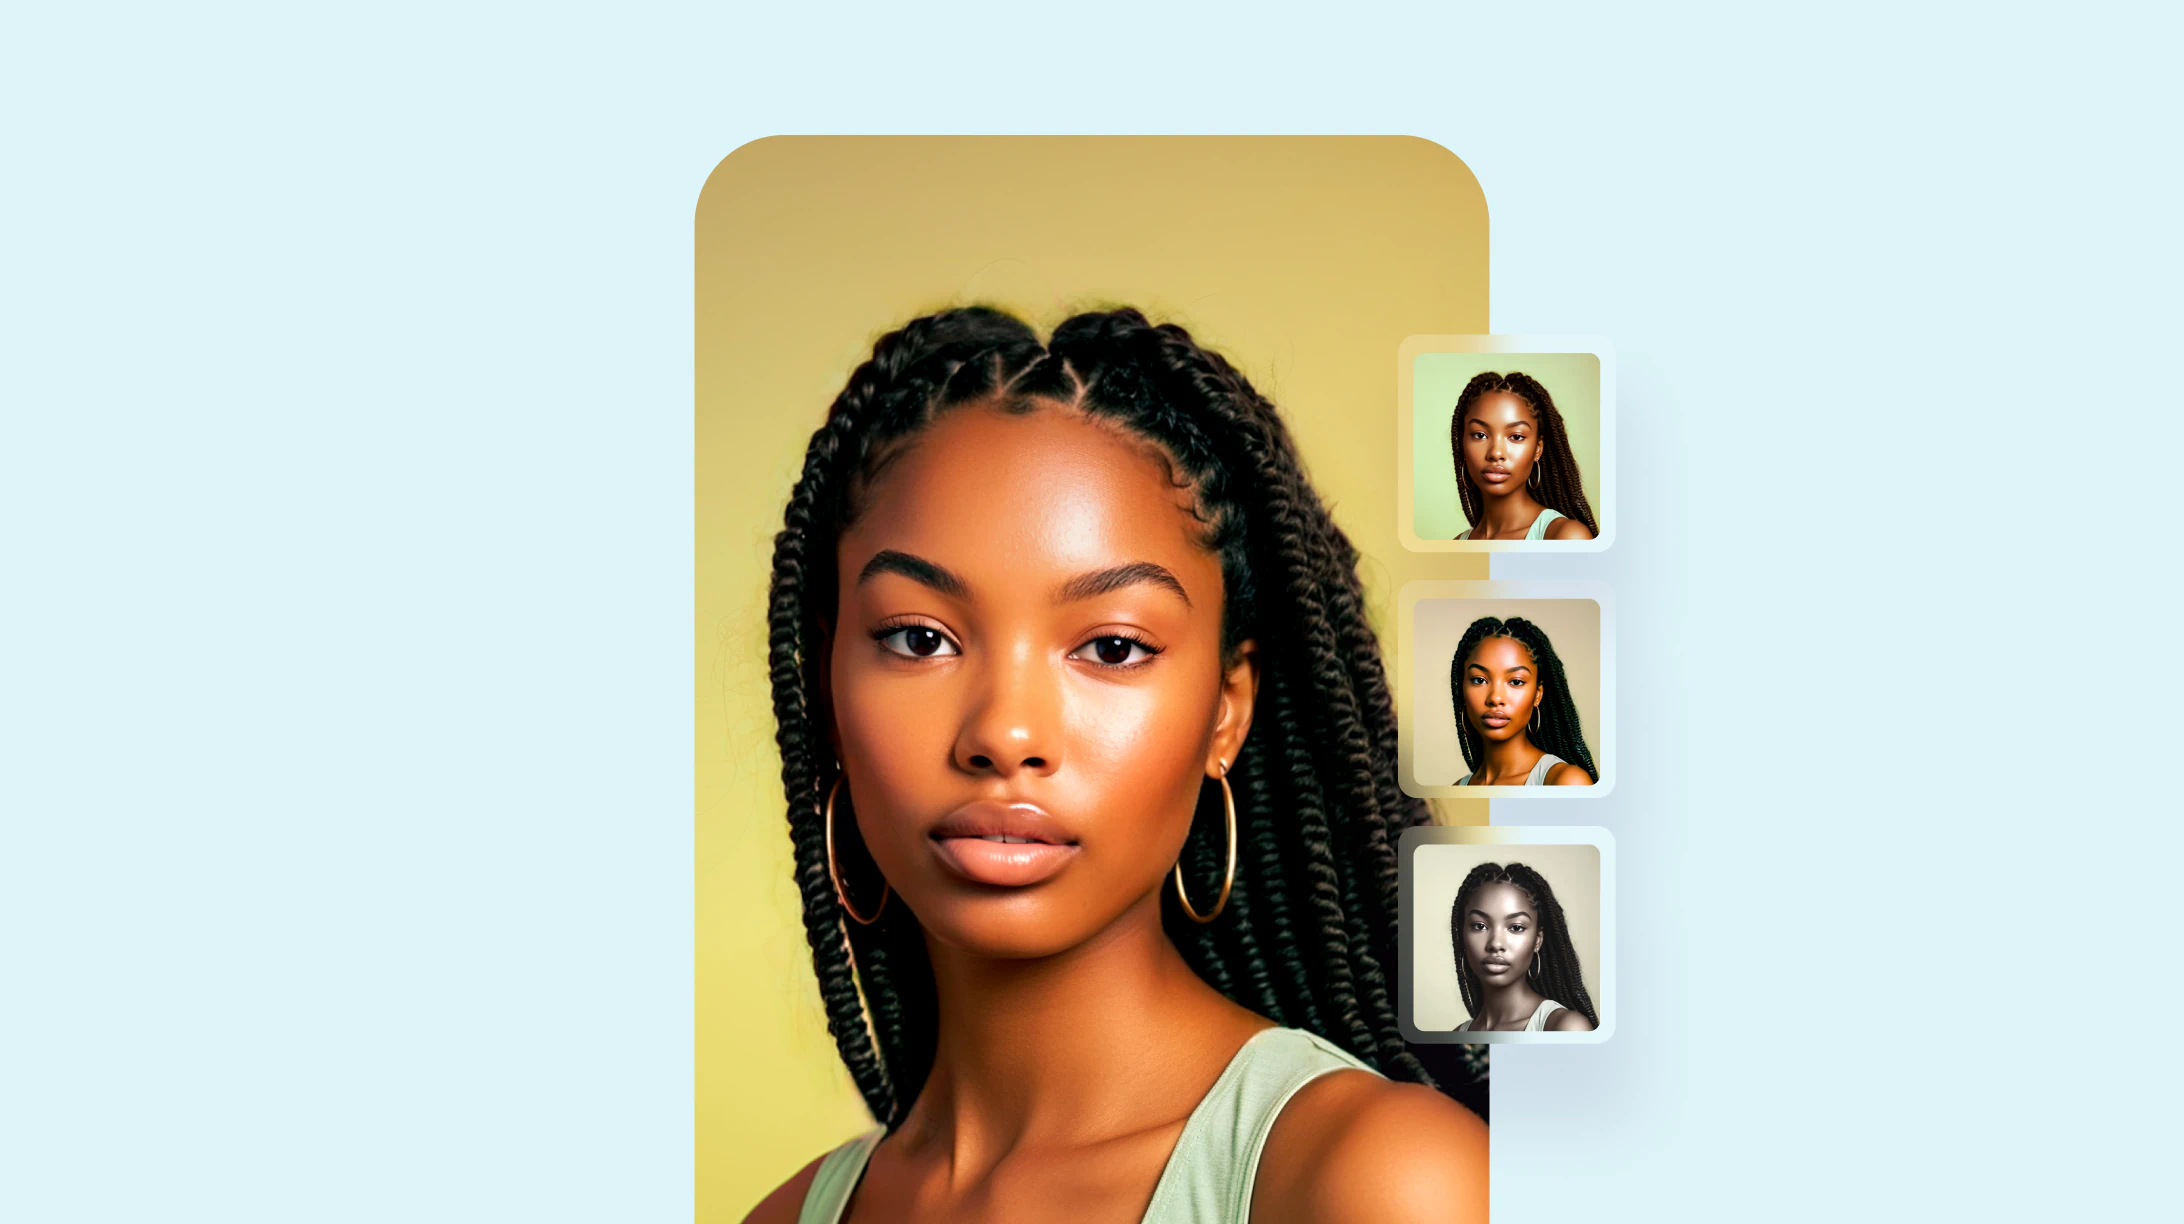
Leverage Facetune to not just edit but transform your photos:
- AI hairstyle & hair color changer: Experiment with different hairstyles and colors.
- Makeup photo editor: Apply digital makeup for a flawless appearance.
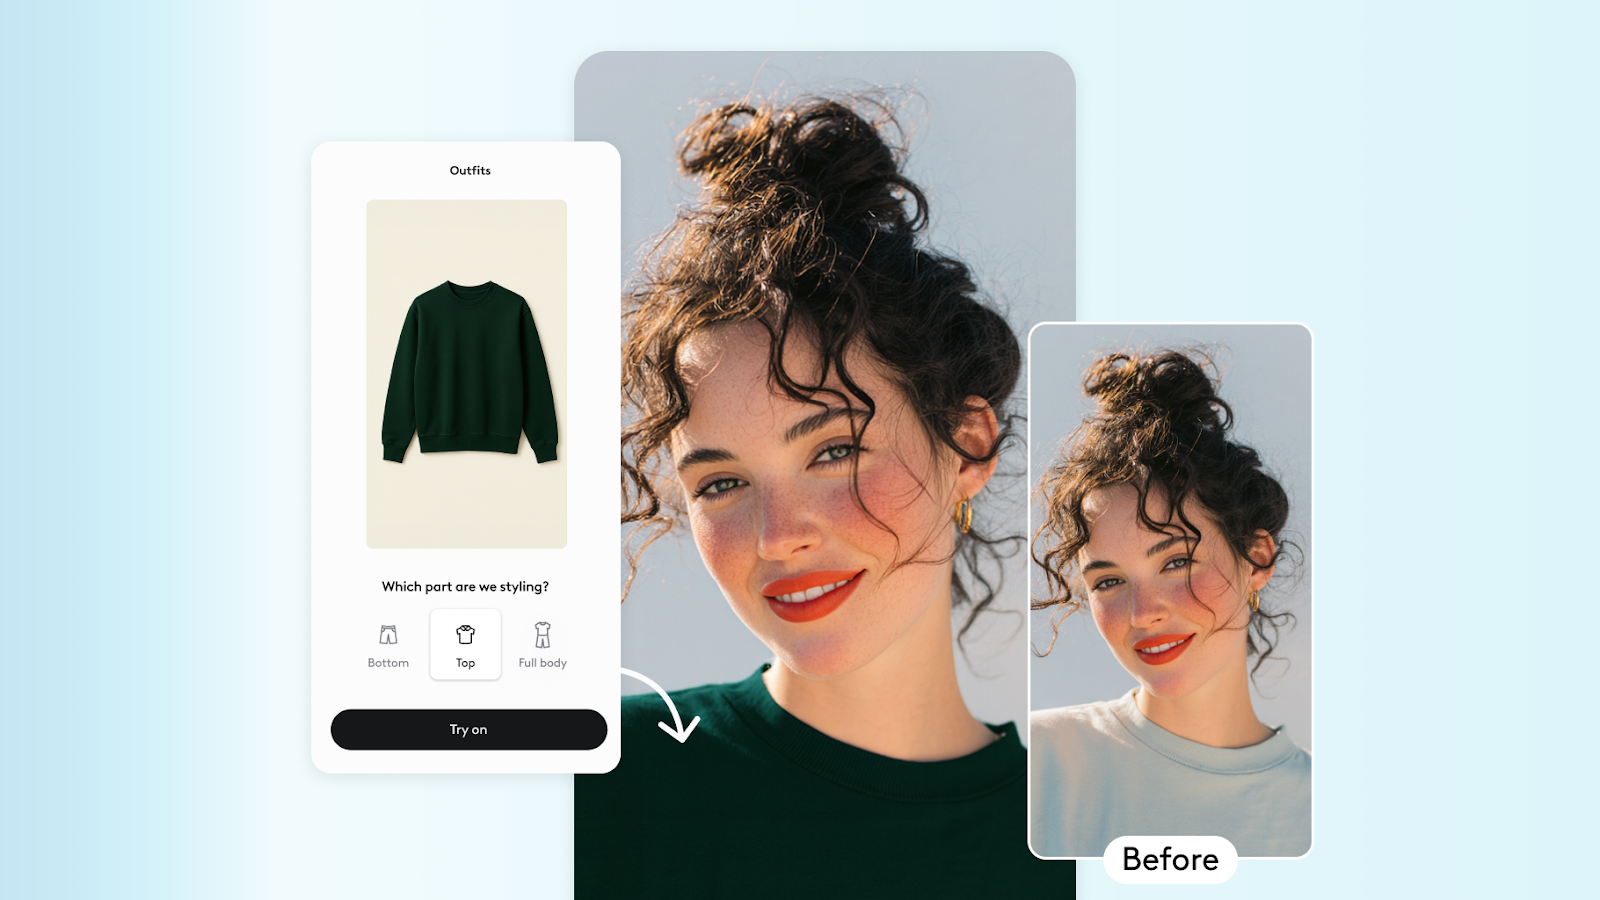
- AI Clothes changer: Switch up outfits as fast as your mood.
- AI Avatars styles: Get creative with fun and unique avatar styles.
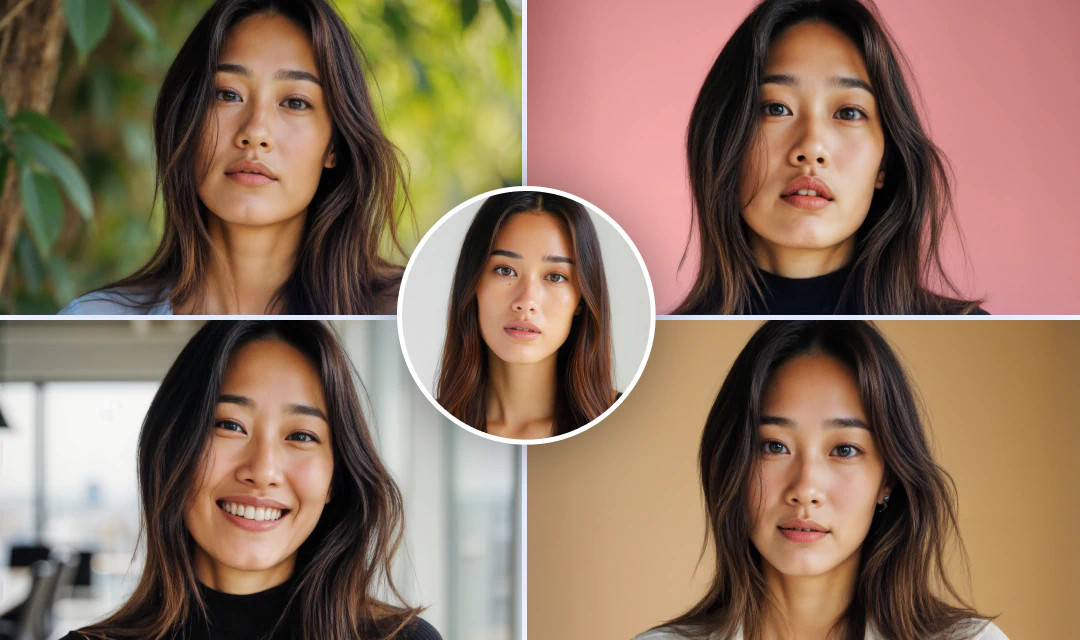
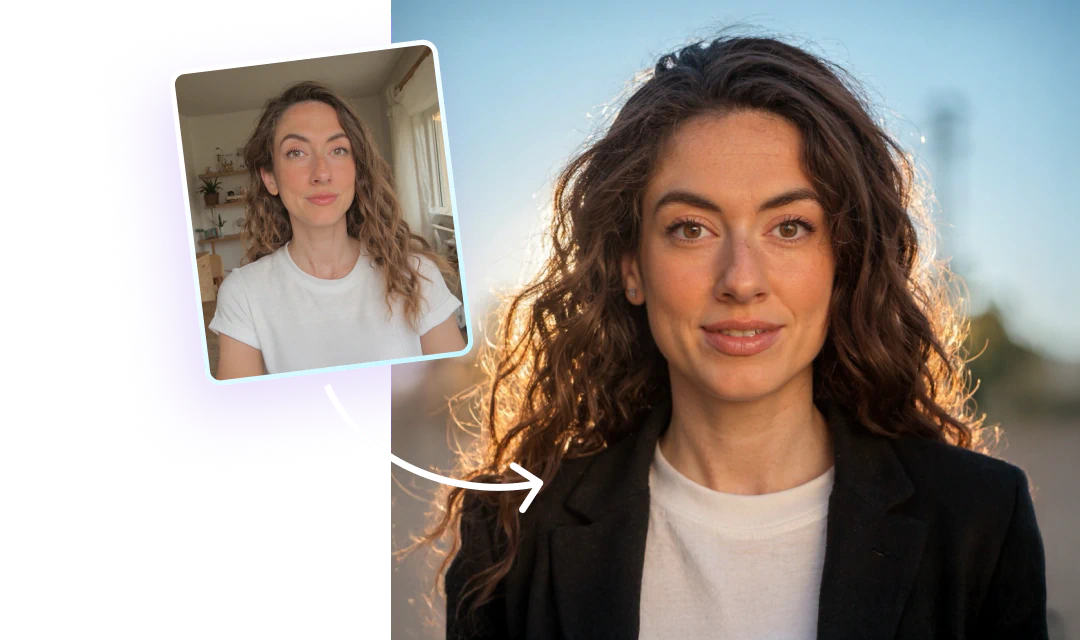
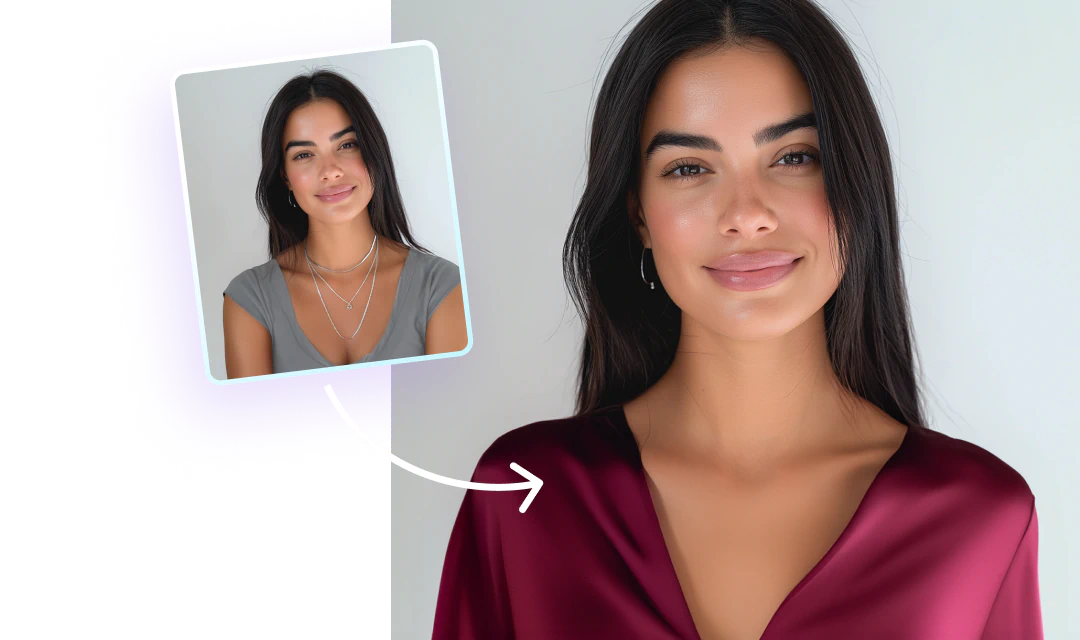
- AI Headshot Generator: for professional portrait shots.
Facetune as your all-in-one photo editing solution
While editing on iPhone does provide you with handy tools for basic edits, one of Facetune's greatest strengths lies in its seamless integration of all these powerful editing tools within a single, intuitive interface. No more juggling between multiple apps or dealing with complex desktop software. With Facetune’s photo editor, you have a complete creative studio at your fingertips, tailored specifically for mobile devices. The app's thoughtful gestures and point-and-tap editing make the process feel natural and intuitive, enabling you to achieve stunning results with minimal effort. With Facetune, the possibilities for transforming your iPhone photos into professional-grade masterpieces are truly limitless.